
You’re here for a tutorial on how to use CapCut. It’s the go-to for quick social videos, but if you’re one of the many beginners who have tried it, you’ve probably already felt the friction.
All that manual timeline juggling, clip splitting, and tedious caption fixing quickly starts to feel like a chore.
What if you had an AI co-editor to do all that work for you?
This CapCut tutorial walks you through the basics, step by step. But for every one of those steps, we’ll show you how Descript’s AI-powered, text-based workflow does it faster, cleaner, and without the headache.
Step 1: Importing and organizing your clips
You’ve got your pile of clips—the A-roll from your camera, the screen recording, maybe a quick clip from your phone. The first step in any edit is to get the raw material into your project and make sense of it.
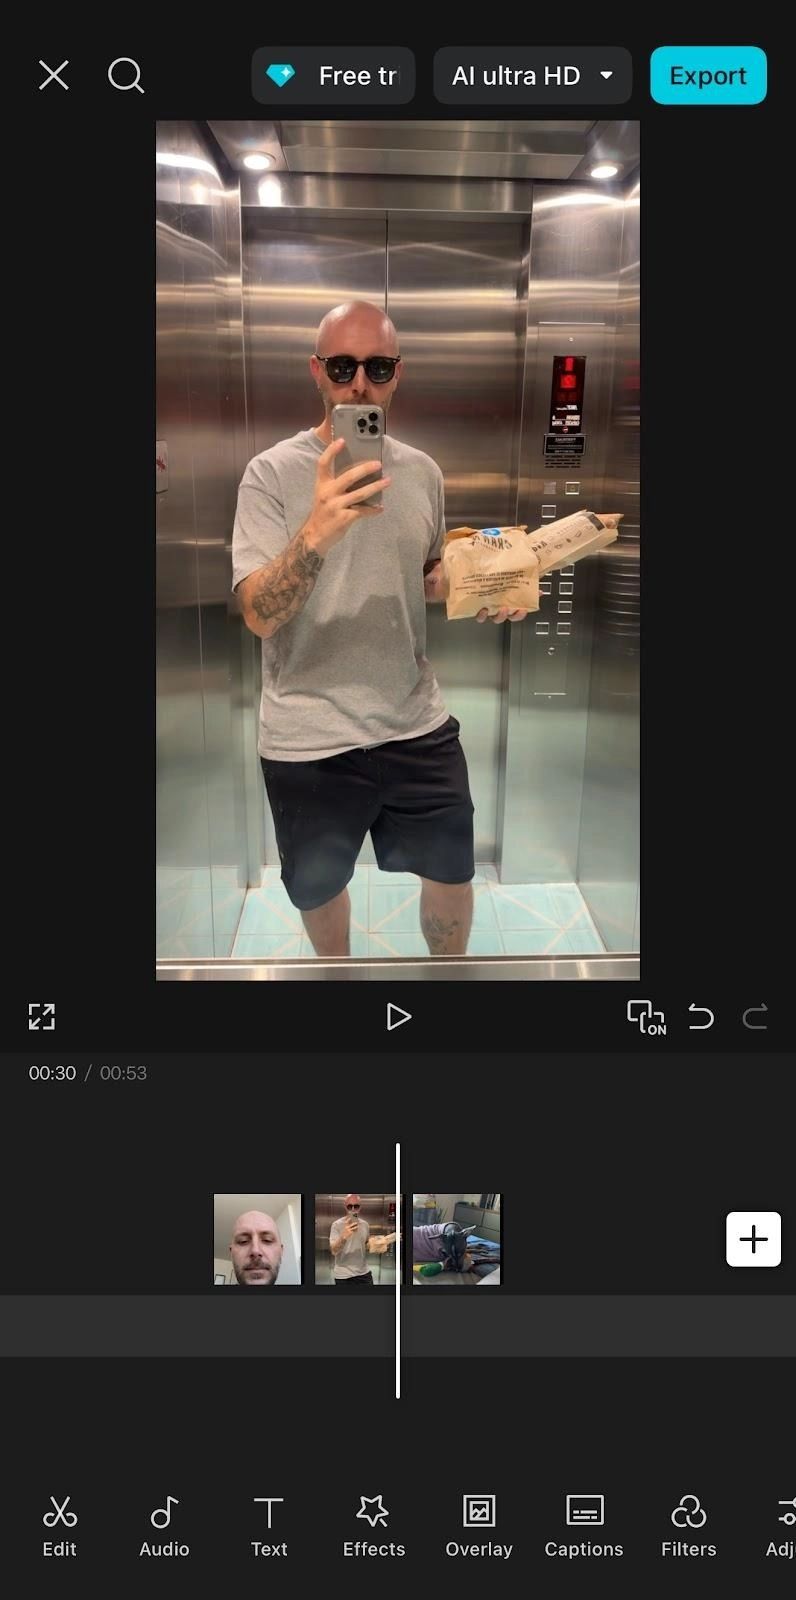
With CapCut, open your new project, click the Import button, and drag your files into the media bin.
Then comes the manual part. You drag every single clip onto the timeline in the order you think you'll need them. If you have multiple camera angles or a screen recording, you start stacking them on different tracks.
This is where the first point of friction begins.
Before you’ve even made a single cut, you’re already managing a visual puzzle. Your 10-minute recording is one long bar on the timeline. Finding the right take means manually scrubbing back and forth, listening, and splitting the clip to isolate the good parts.
Want to move a section? Carefully select the right video clips (and any attached audio or B-roll) and drag them to a new location. It’s a lot of manual nonsense, and you haven't even started editing yet.
✨ How it’s way easier with Descript ✨
Descript flips this entire process on its head. The moment you drag your video file into a new project, Descript immediately starts transcribing your audio into text. Your video is now a text document, pre-organized, and ready for editing.
Changing a single line of text adjusts your video accordingly.
- Want to cut a bad take? You don't hunt for it on the timeline. You just find the words in the transcript, highlight them, and hit ‘delete.’ The video is cut automatically.
- Want to reorder your points? You don't drag clips. You just cut and paste the text paragraphs, and your video scenes reorder themselves to match.
👉 The bottom line: CapCut's workflow is built around manually organizing and splitting clips on a timeline. Descript's workflow is built around your script. You organize and clean up your content by simply editing text, which is infinitely faster.
Step 2: Cutting and trimming your video
Your clips are in order. Now comes the real work: cutting the fat. Chop, chop. Here is where you trim the dead air at the beginning, cut out the bad takes, and tighten up the pacing.
The CapCut workflow is a classic editing loop. You find a spot you want to cut, zoom in on the timeline, and either:
- Hit the Split button to slice the clip, then select the unwanted part and delete it.
- Grab the edge of a trim handle and drag it inward to shorten it.

The time-sink begins here. You’re not making one or two big cuts on a 10-minute video, but hundreds of tiny ones. With CapCut, you're constantly zooming in, scrubbing with the playhead to find the exact millisecond before a word, making a cut, and then zooming back out.
✨ How it’s way easier with Descript ✨
You’ll cut and trim your entire video with Descript faster than making one transition in CapCut. That’s because our AI tool finds where to improve your video right after uploading it.
Need to clean up ‘ums’ and ‘uhs’? You don't have to listen to every single one. Descript’s AI finds and removes filler words for you with one little click.
For those common talk-to-camera do-overs, Descript's AI Remove Retakes knows where you messed up and said a line again. It keeps the best take and removes the bad ones. And if you need to refine your video, simply use the Edit for Clarity tool to instantly remove tangents, non-essential content, and awkward pauses.
And if you thought it couldn’t get any easier, guess again. Just ask Descript's AI co-editor, Underlord, to do all the dirty work for you. Type a prompt like, "Tighten pacing, remove all my filler words, and delete the retakes," and your new editing bestie will execute all those cleanup tasks at once.
👉 The bottom line: CapCut gives you hands-on timeline trimming. It's serviceable, but forces you to do all the repetitive cleanup manually. Descript automates the cleanup phase with AI, letting you clean your entire script with a single prompt.
Step 3: Adding captions and subtitles
Subtitles and closed captions are not optional if you’re publishing videos anymore. A 2024 CBS News poll found that over half of US viewers use captions some or all the time. Most video editing software offer some kind of captioning tool.
To its credit, CapCut offers an Auto captions feature on its web, desktop (Mac and PC), and mobile platforms. You click a button, and it analyzes your audio to generate the text.
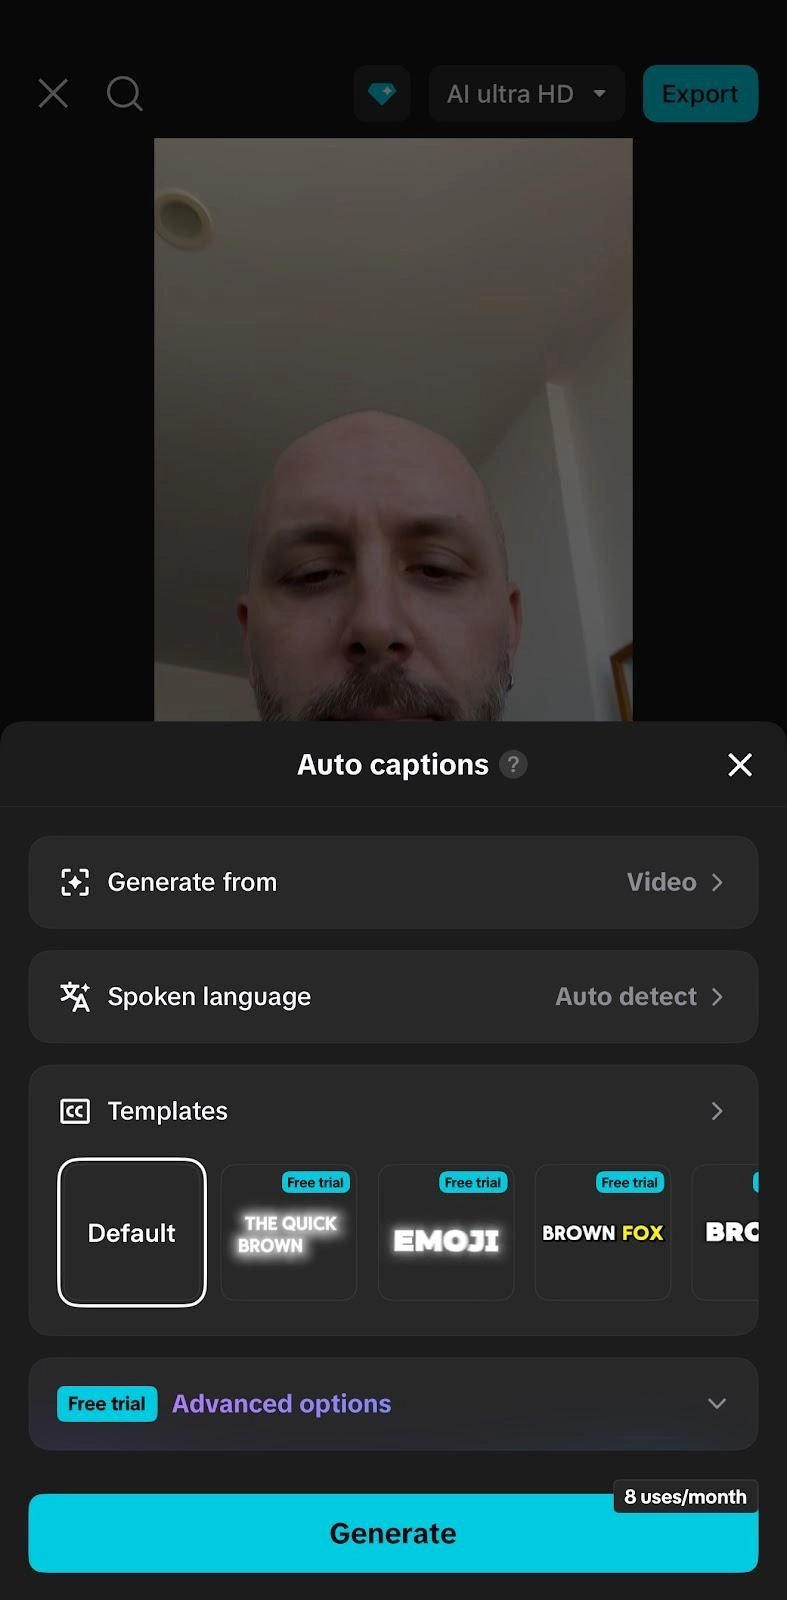
But Auto captions is only available on a Pro (paid) plan, and the workflow is a bit wonky. The styling options for adding text available on desktop differ from those on mobile, and exporting a standard .srt caption file—which is necessary for YouTube or other platforms—is a paid feature only available on desktop.
✨ How it’s way easier with Descript ✨
In Descript, captions free, instant, and simple: Because your entire video is built from a transcript, the captions are just your script.
When you correct a misspelled name or technical term in your main script (which you likely did in Step 1), your captions are simultaneously corrected. There is no separate captioning step. There is no need to re-sync timestamps, because the words and the video are already one and the same.
Polishing them is a single click. You can style one caption, then apply that style to the entire video instantly.
👉 The bottom line: CapCut's auto-captions are a good start, but they create a new, tedious task—manually correcting and re-syncing text on a timeline—and you have to pay for them. Descript's captions are an automatic result of your edit. They're 100% accurate to your script from the start and can be translated into 20+ languages with AI. And they're available on a free account.
Step 4: Enhancing audio and voice
We've all been there. You film a video, and the visuals look great, but the audio is... not. It's tinny, you can hear a room echo, or the hum of your laptop fan is distracting.
Viewers will forgive bad video, but they will not forgive bad audio.
With CapCut, you get the standard tools you'd expect in a video editor. You can adjust volume levels, add fade-ins and fade-outs, and even use an equalizer (EQ) to tweak the sound. It also features a one-click Enhance voice button, which is helpful for simple background hum.
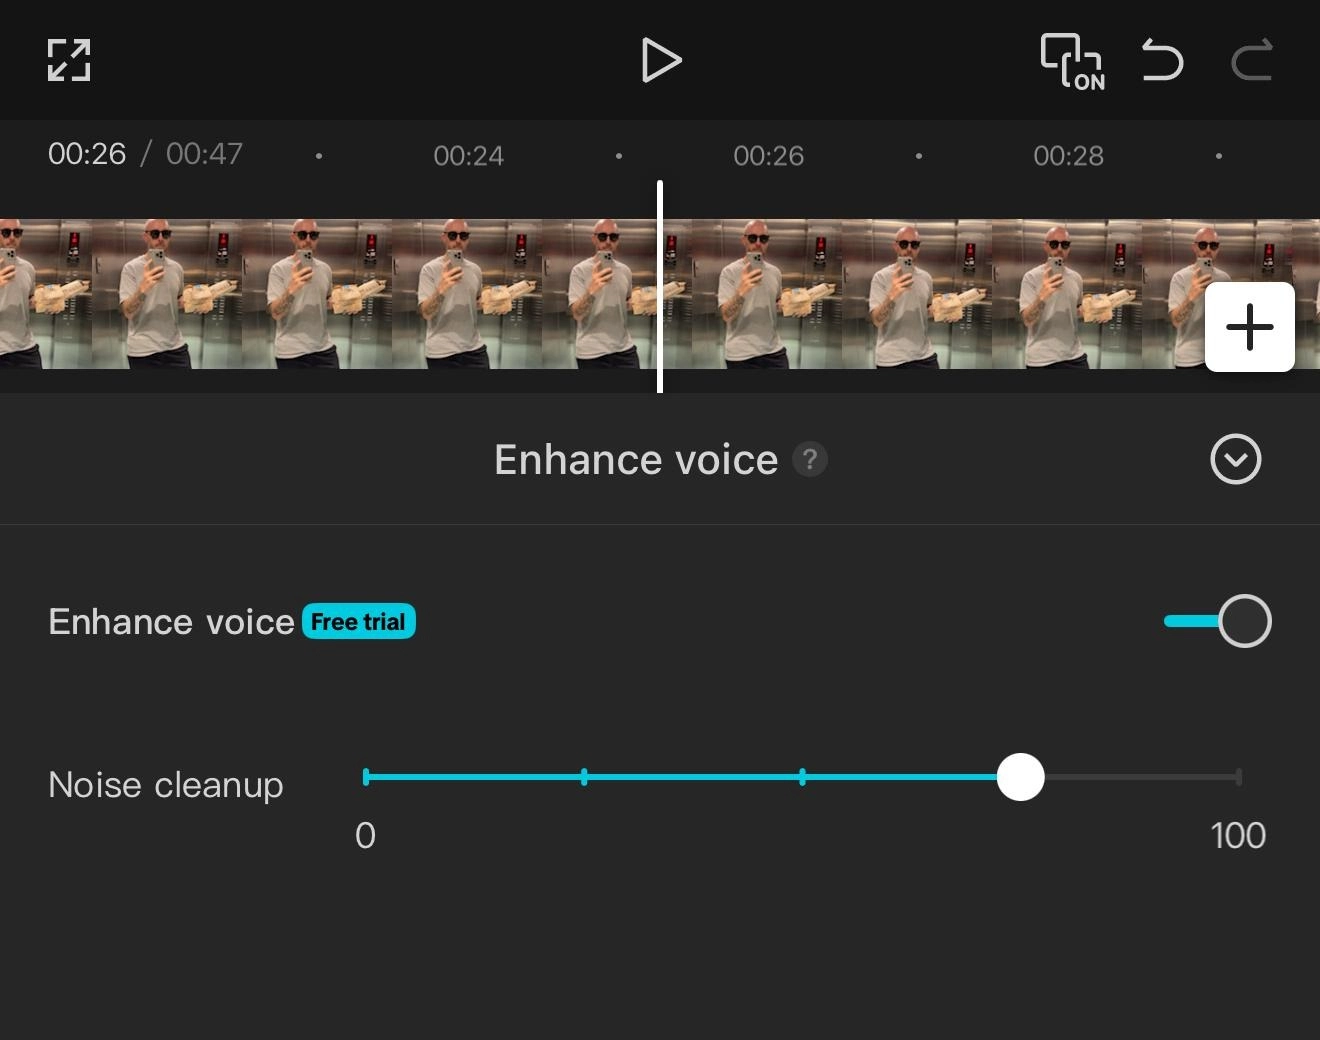
The tool is pretty blunt, however. It often makes your voice sound watery or artificial. And it's completely powerless against the two biggest audio problems:
- Room echo: That hollow, empty-room sound.
- Mic quality: A tinny, distant-sounding voice from a laptop or phone mic.
To fix these, you have to export your audio, clean it up in a separate program, then re-import it. It’s a workflow killer.
✨ How it’s way easier with Descript ✨
Since AI’s audio repair suite is built into the editor, you can wrap this step up in moments with the following features:
- Studio Sound: The one-click magic button CapCut users wish they had. It removes background noise, eliminates room echo, and enhances your voice to make it sound rich and clear. It effectively makes your laptop mic sound like a professional studio mic.
- AI Voice Cloning: What happens when you're done editing and notice you said a word wrong? In CapCut, you either live with it or re-record the entire voiceover. In Descript, you just delete the wrong word and type the right one. The tool will generate the new word in an AI clone of your own voice and match the audio.
- Regenerate: When you cut out filler words, you can sometimes create a choppy edit. Regenerate analyzes the cut and re-synthesizes the audio, smoothing the transition so it sounds perfectly natural.
👉 The bottom line: CapCut covers the basic audio basics—volume sliders and a simple noise filter. Descript is an AI-powered audio repair suite that makes your voice come through clear without soundproofing or expensive mics.
Step 5: Adding music, effects, and transitions
CapCut's biggest strength, especially for short-form social media. Its library is packed with thousands of trendy templates, effects, and sounds designed for TikTok videos and Reels.

The workflow is fast: you pick a template, drop your clips into the pre-defined slots, and you're done. But creators hit a ceiling in three spots:
- Many of those slick templates have fixed timing. You can't change when an effect happens or how long a transition lasts. You're locked into the preset.
- If you're not using a template, you're back to the timeline. You manually drag-and-drop transitions, add video effects, stickers, and overlays from a list. Want to add your logo? You have to import it and place it on a new track for every single video.
- Need to show a screen recording? You have to use a different app to record it, then import that file into CapCut and try to sync it up.
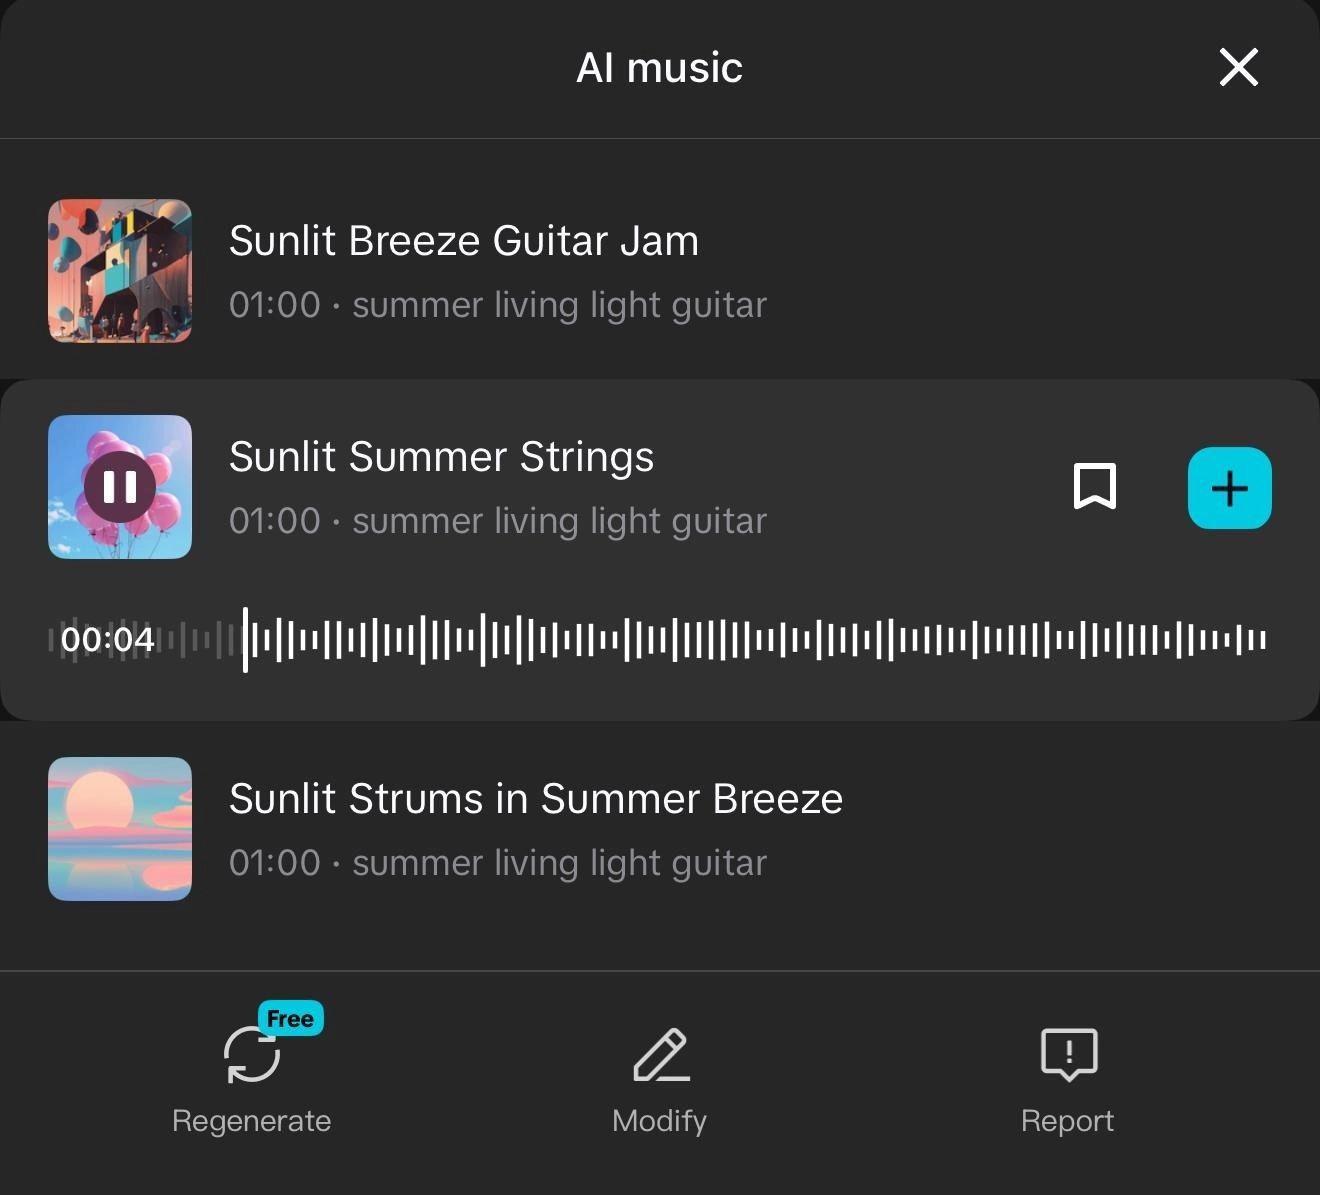
CapCut also promotes its AI music generator, which whips up background tunes quickly. But, as you’d imagine, it sounds like the musical equivalent of unseasoned, boiled chicken.
Overall, CapCut is fast for simple trends, but it becomes slow and clunky as soon as you want to add your own branded elements or supporting assets. The royalty-free music and sound effect options are mediocre at best on the free account.
Advanced tasks like using the green screen (or chroma key) effect, applying slow motion, or doing detailed color correction and color grading have some AI support, but they are still timeline-centric.
✨ How it’s way easier with Descript ✨
Descript offers a reusable branded template to speed up the editing process. You can design your own branded intro, outro, or lower-third with your logo and fonts, and then save it as a reusable template. For your next video, you just apply it with one click.
To add additional media, you have a bunch of options:
- The screen and camera recorder are built right in. When you're done, the recording and its transcript appear directly in your project, ready to edit.
- You get full keyframe control over position, scale, rotation, and opacity, and can create custom animations and fine-tune motion without leaving the editor.
- If you need a cutaway shot, Descript has a library of stock video, images, and GIFs.
- You can generate image and video for custom B-roll tailored to your content, right in the platform.
👉 The bottom line: CapCut shines for fast, preset-driven templates perfect for TikTok. But you hit a wall when you need customization. Descript is an integrated studio that combines AI-starter templates with a screen recorder, stock library, and reusable brand assets.
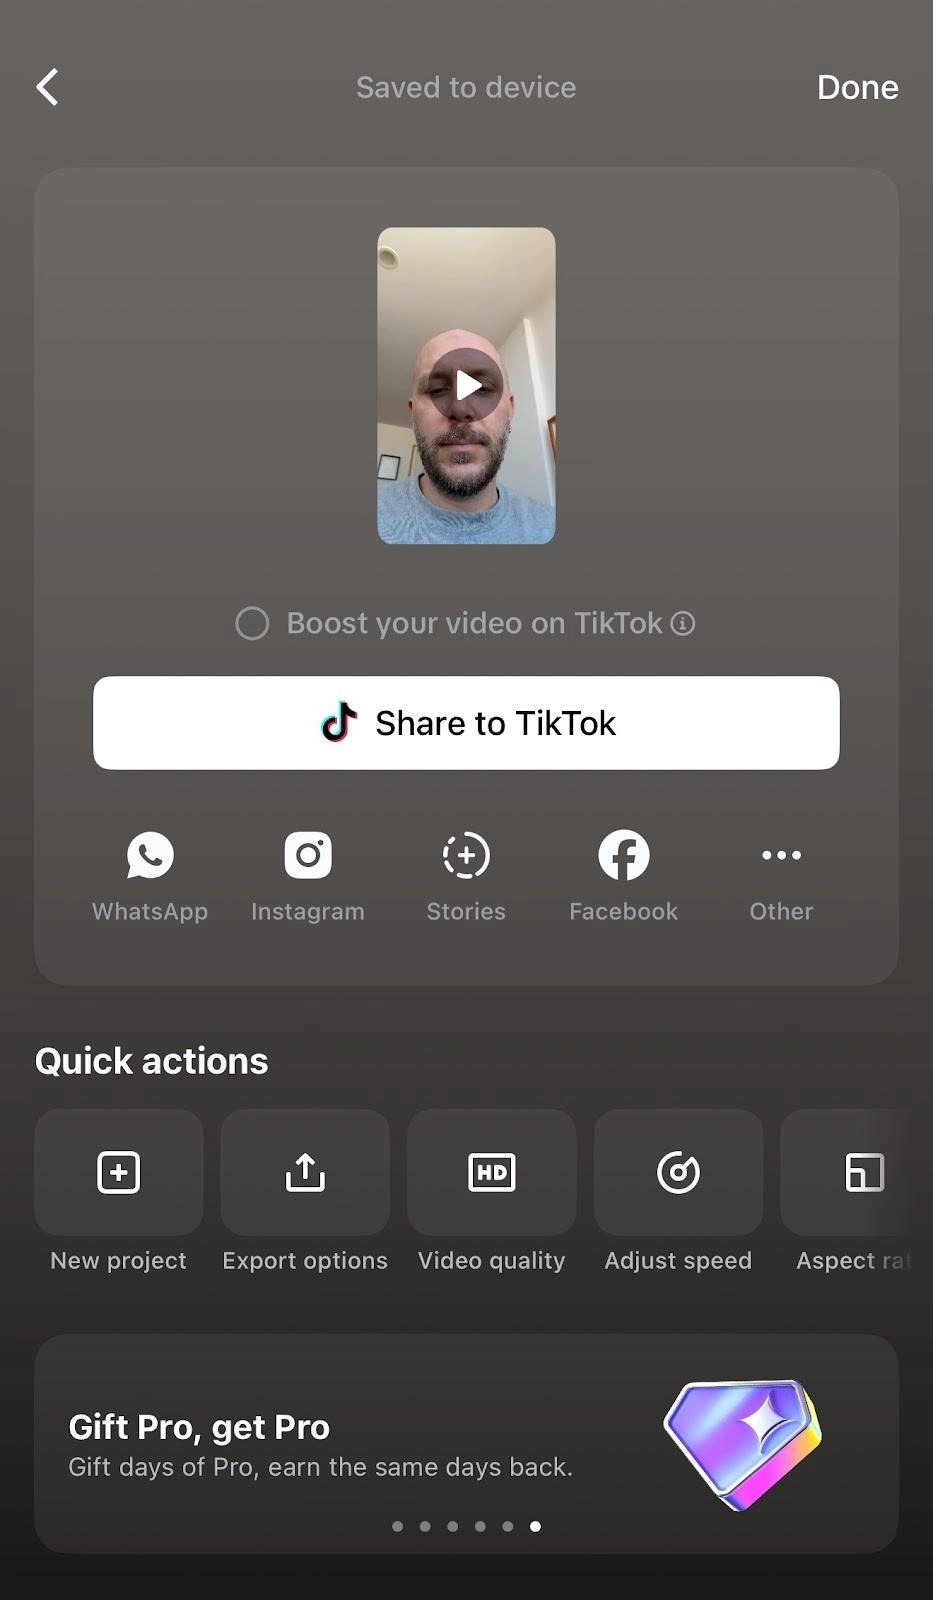
Step 6: Exporting and sharing
CapCut handles the basics well. It lets you export in all the standard social-friendly aspect ratios, like 9:16 for TikTok, 1:1 for an Instagram post, or 16:9 for YouTube. You can easily auto-share to the platform from the export window.
Once you tap Export, it’ll automatically save the video to your device at 1080p. Then, you’ll have the option to adjust elements like video quality, speed, and aspect ratio. Most of the upgrades require you to sign up for a CapCut Pro free trial—you can’t get a top-quality video with the free version.
While CapCut has introduced an online Space to try and solve this, the default workflow for most creators is still this clunky, manual process of passing large files back and forth. It’s also not available on the free version.
✨ How it’s way easier with Descript ✨
With Descript, you can do a standard local export. It gives you clear options to export a high-quality MP4, a GIF, or just an audio file, like an MP3 or WAV.
When it comes to feedback, we’ve brought the process into the modern era. The magic lies in our web-based sharing, where you can:
- Publish instantly to the web: Click one button to publish your video to a unique web page and send a link to your reviewer. It takes seconds.
- Get comments on the transcript: Reviewers can watch the video and leave comments directly on the transcript. The feedback is time-stamped and tied to the exact word, so there's zero confusion.
- Collaborate with teams in real-time: Or, invite your teammate into the project. They can see your live cursor and make edits to the script right alongside you. No more "v2_final_FINAL.mp4."
CapCut vs Descript: A side-by-side look
Why Descript wins for modern creators
Look, CapCut has its place in the world—the go-to 15-second TikTok trend video. The CapCut app is already on your phone, the tooling may be a little hard to navigate, but end of day, you’ll get a video to publish on social media. Many content creators find it’s their first video editing tool.
You read this guide for a reason, though. You feel the friction and are probably tired of being a timeline janitor, sweeping up the cuts and scrubbing the timelines. Fast on CapCut applies to the simplest of TikTok and YouTube videos, everything else for content creation is a drag.
Descript lets you work like a professional creator. You can record and edit your ideas at the speed of thought, and let AI handle the tedious work so you can get back to the fun parts.
👉 Try Descript free and see how much simpler video editing can be.