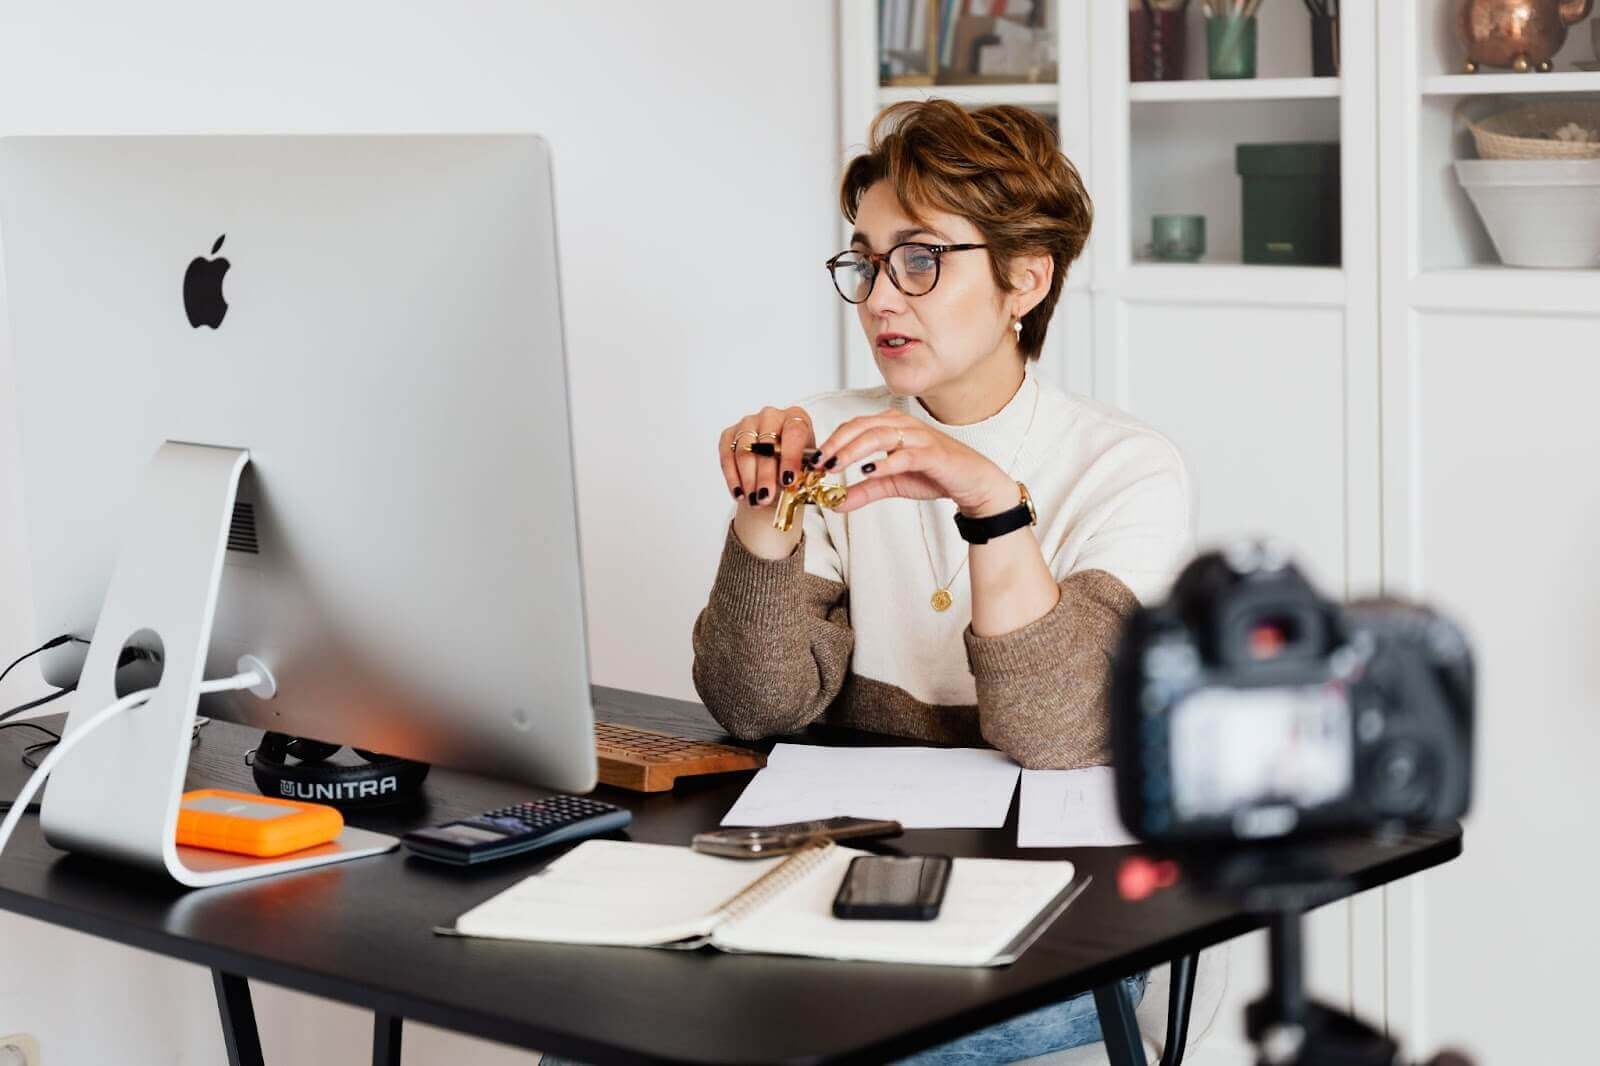
In a world with creators vlogging from their cars, kitchens, and even bathrooms, it’s easy to assume that nobody cares about sound and image quality. But that’s not true at all — with a bajillion videos uploaded to YouTube every second (or whatever), quality is a huge differentiator. So it will pay to be deliberate about all your choices, from where you shoot your videos and the video equipment you choose.
A great home studio setup can give your content a clean, polished, professional look that helps you rise above all the run-and-gun videos flooding the internet. Plus, it saves you from setting up your camera and lights in a new space every time. A YouTube studio setup can even serve as a break from on-the-move footage or provide a backdrop for the entirety of your video.
While what qualifies as the best video equipment for YouTube is subjective depending on your preferences, needs, and budget, we have some recommendations. Whether you have an entire room in your office building or just a corner in your dorm, we’ll walk you through some studio setup ideas and how to build a vlog room setup that works for your channel.
YouTube studio setup: 6 video equipment essentials
- Camera
- Tripod
- Microphone
- Lighting
- Quiet and small space
- Audio and video editing software
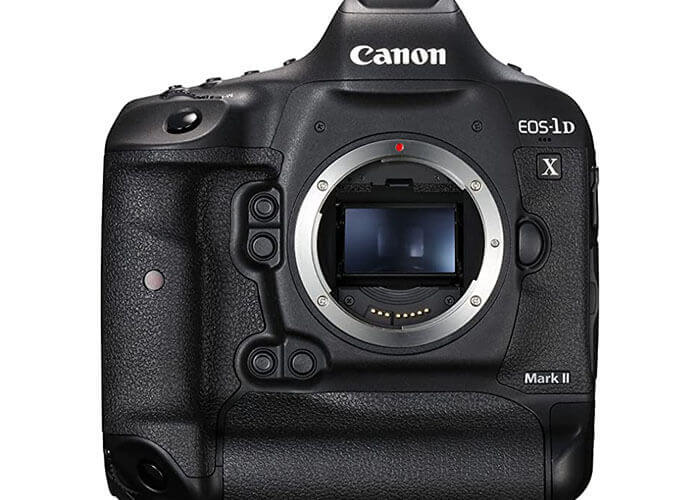
1. Camera
When you have a space with good light, good sound quality, and a steady tripod, you don’t have to splurge as much on a high-end camera to capture quality video. That said, a camera is a must-have on any YouTuber essentials list, and there are options for every budget and skill.
A beginner's camera setup can get away with a smartphone as long as it has HD capabilities. Even if your phone doesn’t have 4K, a minimum of 1080p is a solid resolution for a YouTube video. One of the pros of using a phone is that it’s easy to upload your footage to your computer for editing, or even edit through a mobile app on Apple or Android.
If you’re familiar with filmmaking and want to increase your production value, a DSLR is your best bet. If you’re on a small budget, mirrorless cameras also deliver quality video.
A model with a pop-out monitor will make it easier to watch yourself as you film and make sure you’re in focus. Also, consider picking up a lens with autofocus capabilities compatible with your camera body. This makes it easy for you to move around in your studio while having the camera keep you in focus, something a smartphone does automatically.
Lastly, if you’re gaming or streaming, a webcam can work wonders with good light and sound. For all cameras — but especially a webcam — it’s imperative that you have a solid, immovable mount or tripod to keep your camera from shaking, especially if your webcam is perched on top of your computer or desk.
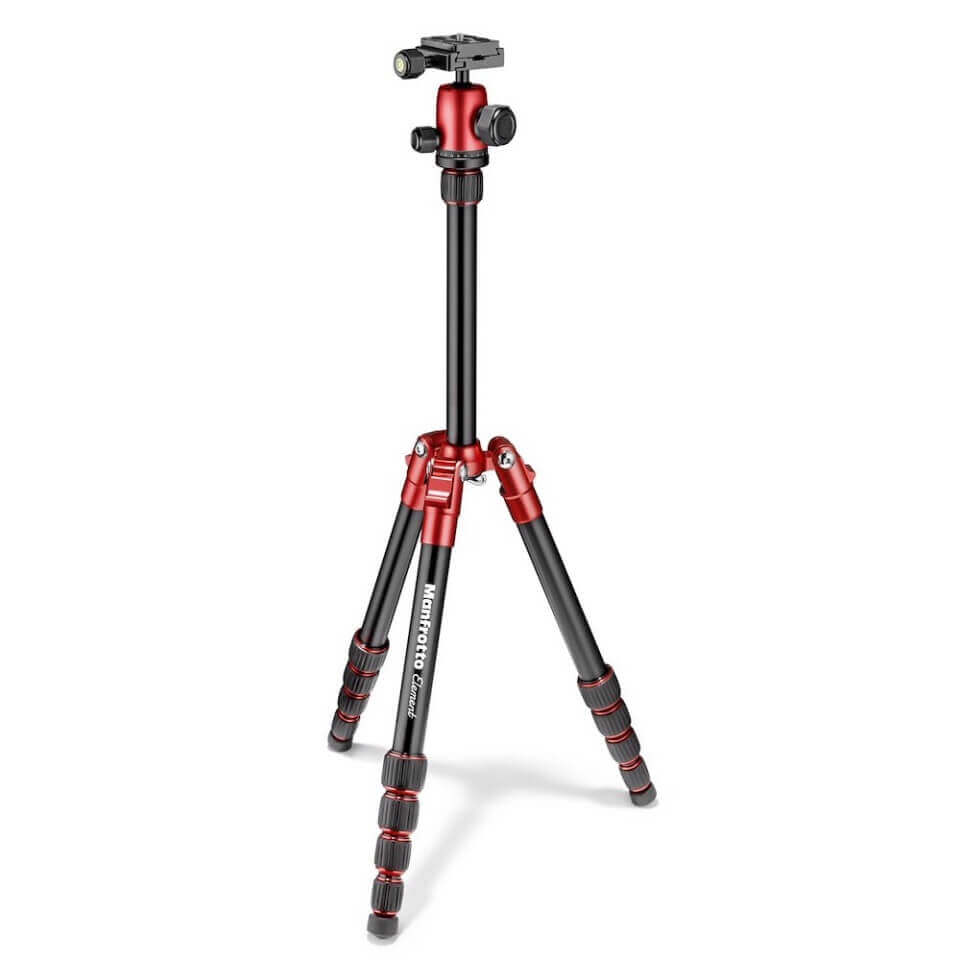
2. Tripod
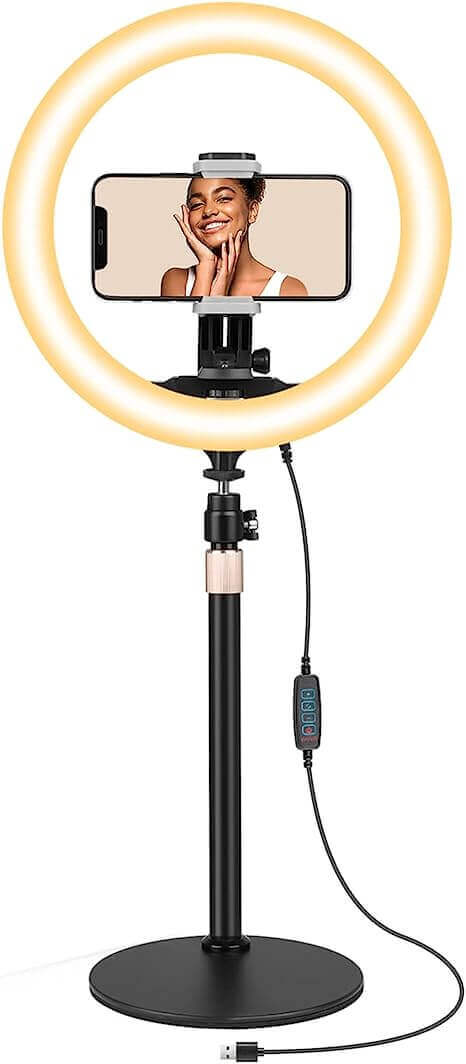
If you’re using a smartphone, a tripod with a ring light is a solid choice. For about $30, you’ll get a mount (you nestle your phone inside the ring light) plus lighting capabilities — so you can do things like adjust color temperature or light intensity and cycle through ROYGBIV colors.
To get the most out of any specialist camera gear, you need a tripod. If you have a DSLR or a bigger camera, you’ll need something more heavy-duty. Check the weight specs for a tripod that can carry your camera load, and look for one with a bubble leveler, which will help you make sure your frame isn’t crooked.
There are tons online for under $100, and you can often find dependable brands like Manfrotto or Benro at thrift stores and used camera stores. Before buying, double-check that the tripod plate fits your camera make and model.
In a pinch, you can always put your camera on a bookshelf or table, provided it’s steady and secure. While not a long-term solution, it can help you frame up your look and give you an idea of what kind of tripod you’ll need.
For a webcam, it’s important to find a mount that won’t shake or rattle if placed on your desk, where the simple act of typing can jostle the camera around. And don’t even think of DIY as an option for a webcam tripod. Look for a webcam tripod like a flexible desk mount clamp, or gooseneck stand that can absorb the shock of any keyboard or game controller movements.
3. Microphone
Nothing can sabotage your frame like bad audio, no matter how gorgeous your frame is. While it’s tempting to overlook sound quality, even when running a video podcast, the truth is a microphone can make or break your YouTube channel.
Luckily, a little investment can go a long way toward high-quality audio (check out some of the best podcasting mics, or great mics under $100 here).
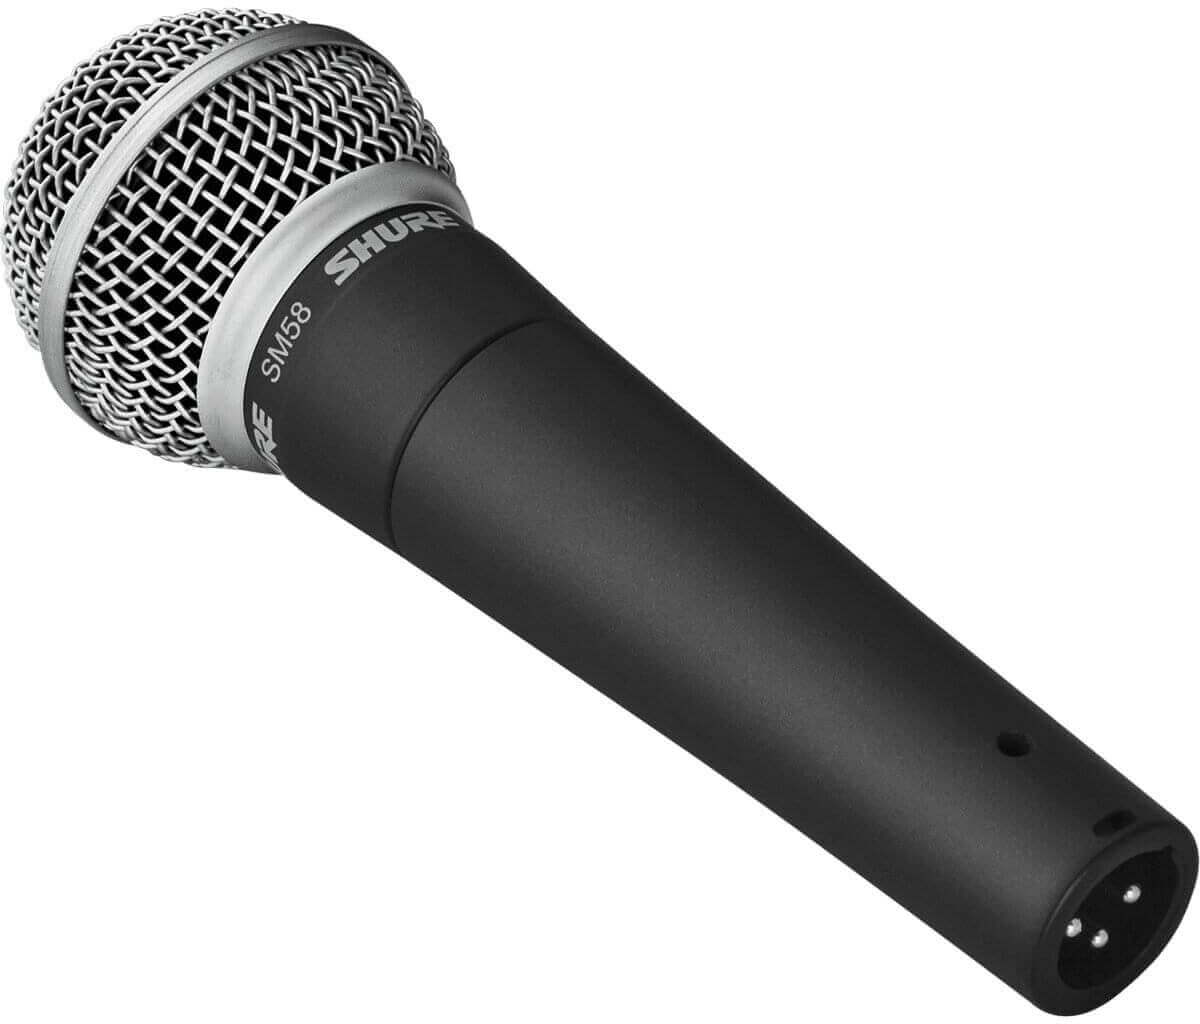
If you’re shooting with a smartphone, AirPods or microphones that connect to your phone can sound tinny and thin. Look for something that can plug into the USB port of your computer and record separately from your smartphone, like a mic that can sit on your desk. Some USB mics we like include the Blue Yeti, the Samson Q2U, and the Røde NT-USB Mini.
For higher-end audio setups, an external sound mixer (like a Zoom H1N or RØDE AI-Micro) is worth the splurge, allowing you to plug in a lapel mic and control recording levels.
For a middle-of-the-road option, a shotgun mount that plugs into your camera can make podcast production smoother, but won’t have the close feel of a lavalier mic that’s pinned to your shirt.
Whatever you do, don’t rely on your camera’s onboard microphone to record sound — you won’t be happy with the quality.
4. Lighting
LED lights, or light-emitting diodes, are the best bang for your buck. They’re incredibly effective, energy-saving, and don’t emit any heat.
Ring lights are a fantastic and low-cost option LED for creators who speak directly to the camera, and they help light your face in a flattering way. Another low-cost video lighting option is hanging China balls with daylight-balanced bulbs for a soft, even light.
If you have a bit more budget, a soft box is the way to go. It gives the same flattering look of a ring light but with the softness of a China ball. Just remember to strike any overhead lighting, and if you have any small lamps in the frame, swap the bulbs to match the color temperature of your dominant light source.
Smart bulbs and smart light strips are an easy and cheap way to control the color temperature and hue of your YouTube lighting setup.
5. Quiet and small space
Perhaps the most important part of building a YouTube studio is the location. No matter how good your equipment is, recording in a cramped and noisy spot can quickly tank your production value.
If you don’t have a home office, look for a quiet room where you can control what’s in frame and how much sound comes in. Ideally, it’s a room with a door you can close to prevent interruptions, or at least somewhere you can control the backdrop, where people (or pets) won’t walk through your frame.
Before you record:
- Clean up.
- Hide away any potentially distracting clutter, like loose cords, stacks of paper, and random office supplies.
- Think about adding some visual interest — small touches like house plants, twinkle lights, and artwork always look inviting.
You can also throw in swag, signage, or other branded items relevant to your channel. There’s even the option of setting up a green screen and choosing a virtual background if needed.
Remember, this doesn’t have to be a dedicated room solely for filming. Even a corner of your bedroom can work. The most important thing is to have a space that’s quiet and in your control.
6. Audio and video editing software
If you’ve shot your footage on a smartphone, there are cheap and low-cost apps that allow you to edit right on your Apple or Android mobile device. Just don’t forget to import any external audio you may have recorded.
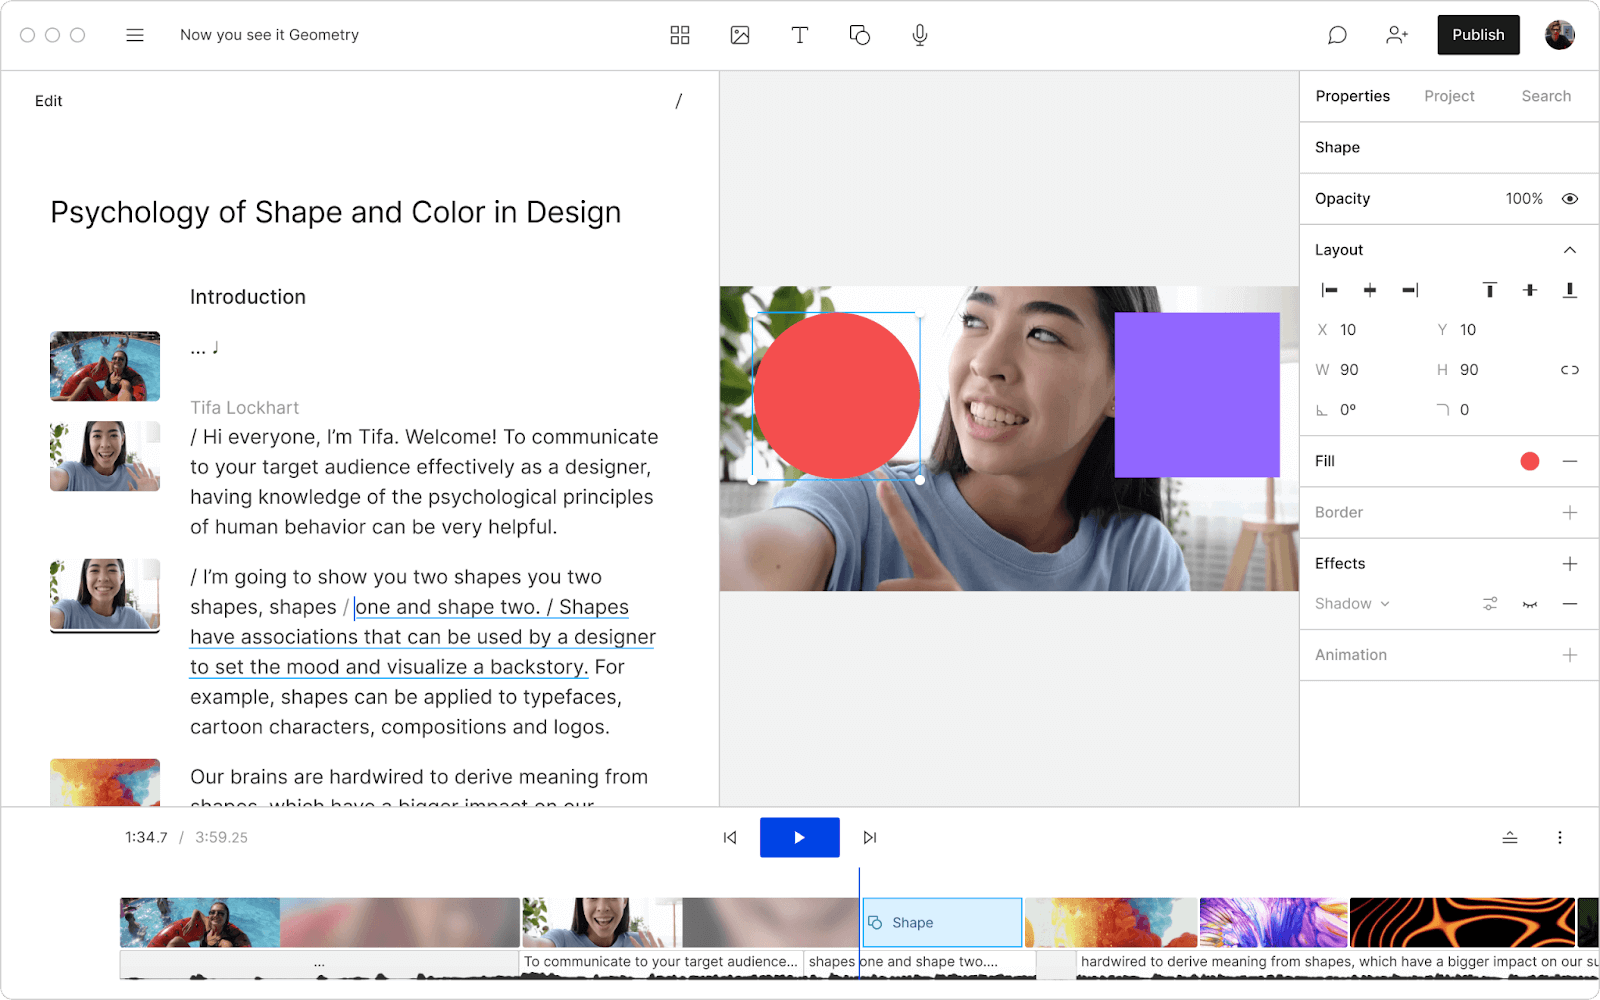
For DSLR users, programs like Premiere and Final Cut X are a bit pricier but offer more control. Another high-end program is DaVinci Resolve, a video editor that also offers more options for color correction.
However, there are plenty of low-cost web apps that can handle light editing. Canva has a web-app video editor, as does Vimeo. Even YouTube has a simple editing function in its creator studio that allows you to trim and export your footage.
Descript is a great middle-of-the-road option with a video editor perfect for YouTubers who want something a little more robust with web-app capabilities.
Always check before purchasing or downloading software that it can export YouTube-compatible videos.
Learn more: How to edit a video: The basics
FAQs on how to build a YouTube studio
How much does it cost to set up a video studio?
The biggest factor in studio costs is your camera. If you’re shooting with a smartphone, you can build a respectable studio for under $100. Powerful DSLRs, like the popular Panasonic Lumix GH5 live stream and vlogging camera, cost at least $1,200, excluding lenses.
That said, it’s easy to keep costs for other video equipment for YouTube low — many great tripod, lighting, and microphone options are available online for less than $50. It pays to be smart and pick and choose where to invest.
What do I need for a home YouTube Studio?
The bottom line: not much. At minimum, you need a smartphone, a tripod/ring light combo,
and an external microphone. Beyond that, you just need a quiet and interesting-looking space that you can control. If you have a bigger budget, the sky’s the limit — you’ll have hundreds of camera, lighting, tripod, and microphone options.
Which camera is best for YouTube videos?
Many YouTube creators prefer to use their smartphones, at least at first, to keep costs down. But shooting on a DSLR is going to give your channel a polished, high-quality feel. If you’re a gamer or streamer, a webcam with a solid, shock-absorbing mount is the way to go.
What is the YouTube Creator Studio?
YouTube Creator Studio, also known as YouTube Studio, is a web-based dashboard provided by YouTube for content creators. It offers a range of tools and features to help you manage, optimize, and analyze your channel. Some key features include:
- Video Manager: Allows you to upload, edit, and manage your videos.
- Analytics: Provides insights into your channel's performance, audience demographics, and engagement metrics.
- Monetization: Helps you enable and manage various revenue streams, such as ads, channel memberships, and merchandise.
- Comments: Lets you moderate and engage with your audience through comments.
- Channel Customization: Offers options to personalize your channel's appearance and branding.