2020 was the year many of us became impromptu video editors. Some of us had already been producing marketing videos, product videos, or how-to videos for our business or organization. Others created vlogs and social media videos for Instagram, TikTok, and YouTube. But for many of us, 2020 was the year we dived headfirst into remote work and video meetings — and they’re here to stay.
Recently, we spoke with Aidan Fitzpatrick, founder of Reincubate, and asked him how to capture great video on a limited budget. His answer was simple: Make the most out of the phone already in your pocket — which has a camera as good (or better than!) many cameras with four-digit pricetags.
In this post, you’ll learn:
- Why where and how you shoot video matters at least as much as what you shoot it with
- How to use your iPhone or Android phone camera as a webcam for video meetings or to maximize control over at-home video recordings
- How to use an app to tweak your phone camera like a DSLR for granular control over the quality of your image
- How accessories and better lighting will help you improve the quality of your scene and your finished video
Better-quality video isn’t just about a better-quality camera
Before we show you how to make the most of your phone camera, let’s compare these two stills, captured from two recent video streams featuring Mark Zuckerberg.

The image on the left looks pretty familiar. It’s the image we get from most colleagues in meetings on a daily basis. According to Aidan Fitzpatrick, Mark is probably using a laptop’s built-in webcam in this image, given the unflattering angle and grainy picture quality.
The image on the right is far superior, and not just because of the better camera quality — there are other, carefully considered things at play here, such as lighting, the placement of the camera, and the background in the shot.
Let’s talk about the camera for a moment (we’ll soon come back to the other elements that create a great webcam image). Mark’s most likely using a film-quality RED camera in the shot on the right. That’s what creates such a detailed image, with nuances of color and a softly blurred background. Could you use one of those cameras for your own setup at home? You could, but it’ll cost you. RED cameras start at around $6,000 new.
You can get DSLRs for less than that which will achieve a similar look, but you’re still looking at about a $1,500+ spend, and a pretty cumbersome setup which you might find is not worth the hassle, particularly if you have multiple calls per week or need to move your setup around.
Meanwhile, the phone in your pocket has an excellent, high-quality camera that will do a better job than most webcams or built-in cameras. It won’t quite get you Zuckerberg-quality shots, but, depending on your device, it could give you the same quality as Billie Eilish and Lady Gaga’s recent music videos, both shot on iPhones.
Here’s how to use your iPhone or Android as a webcam (and improve your video quality at the same time)
Step 1. Mount your phone for stability and flexibility
Tripods and gooseneck mounts are inexpensive options that offer a lot of flexibility in where you place your phone, without taking up too much desk space. Besides mounting on your desk or at your computer, you can also use these all around the house, to film yourself standing up or in different scenes as you desire.
While mounting your phone, pay attention to the angle of your camera. Ideally, you want your camera to be level with your face, but given that you’re likely to be maneuvering this around a monitor, having your camera slightly higher than your face is better than having it lower and angling it up.
Step 2. Use an app to send your phone camera image to your laptop
Camo is an app that allows you to use your phone as a webcam and control it from your computer. We love it because the app enables manual control over your phone’s camera, allowing you to finely tune your phone image the same way you would with a DSLR. It’s free to use, but you can upgrade to Camo Pro to access additional features — and we’ve partnered with Camo to offer a 25% discount on Camo Pro for Descript users.
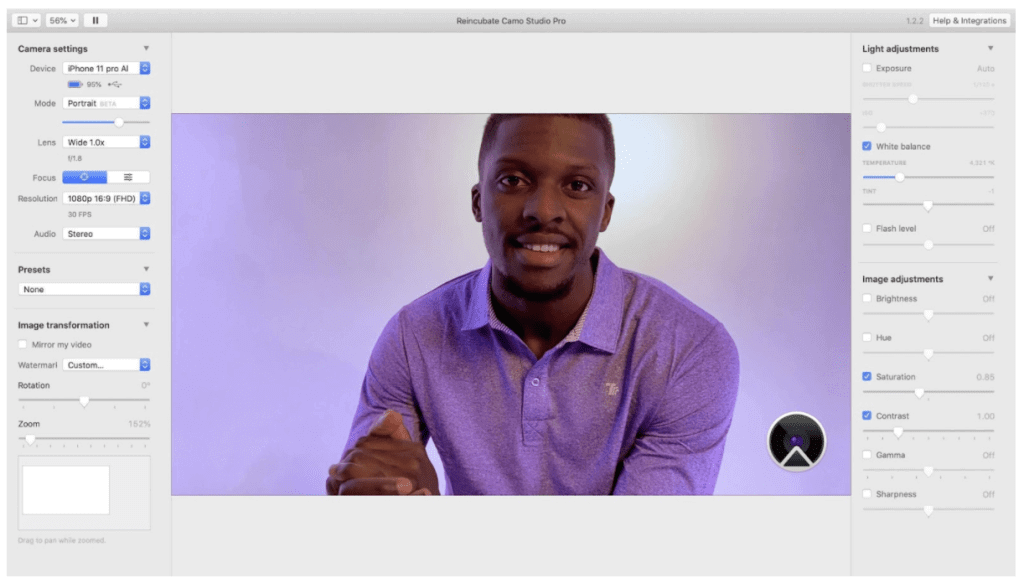
Download the app to your phone via the App Store for iPhone users or the Google Play Store for Android. Search for ‘camo webcam’ to discover it. The phone app will share Camo Studio to your computer, pictured above, which allows you to use your iPhone as a webcam. Camo Studio is smart about choosing the right settings for your phone from the get-go, but to learn more about how you can adjust your picture with Camo, check out their website.
Step 3. Improve your scene
Now that you’ve got a steady mount for your phone and an app that allows you to tweak its camera image, it’s time to make your shot look the best it can. Here’s where you might want to think about moving things around. It’s important to remember that what you shoot matters so much more than how you shoot it.
Certain details about the scene you shoot in will greatly impact your final picture. The most important of these are:
Lighting
Good lighting is the most important element of a great-looking shot. Natural lighting is a great (free) way to light your shot — but even if your desk faces a window, you might need to add other light sources, as sunlight can be unpredictable.
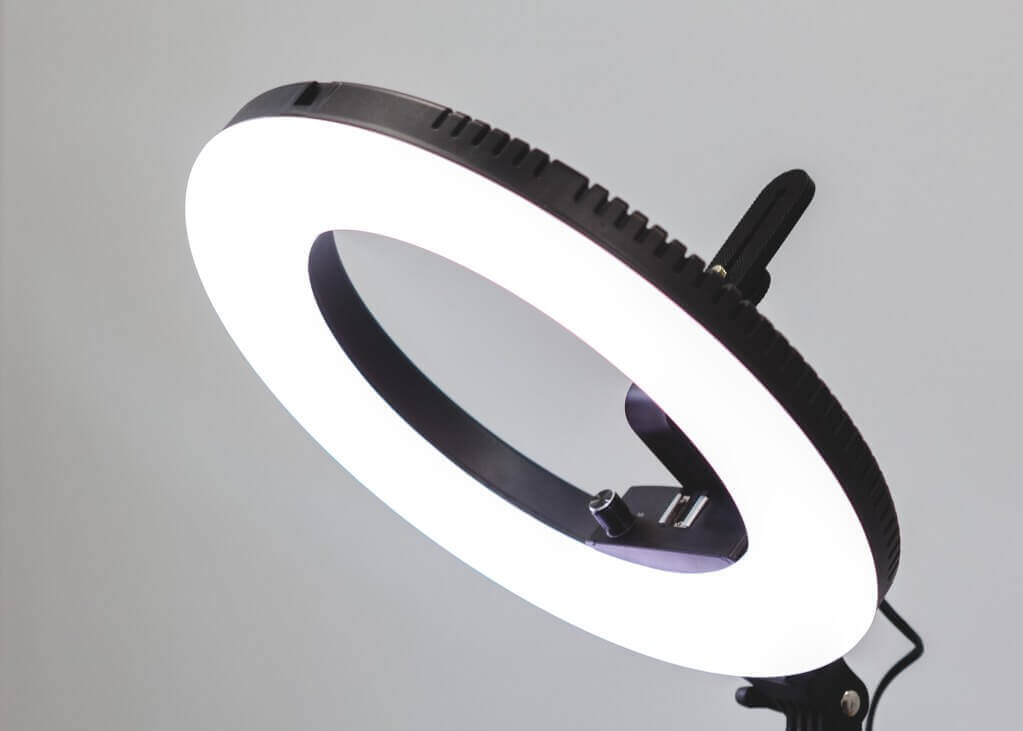
Professionals use a three-point lighting system to create a well lit scene, and you can create something similar by using a bright light (like a ring light or a key light) slightly to the side of your camera, and a softer, secondary light (like a desk lamp) to the other side of your face. Avoid using lights bright enough that they cause you to squint or strain your eyes, or cause your face to look blown-out.
Background
Take a look at what’s visible in the background of your scene. If you have the space and time, tailoring your background to your shot will make a big difference. That isn’t always feasible, though, and if you’re using Camo Pro, you can make use of the Zoom function to crop your video and make yourself the focal point.
To enhance your image further, consider adding another light source (the third in the three-point system mentioned above) to add depth to your scene. If you look back at Mark Zuckerberg’s superior camera image above, you can see how the use of background lighting adds detail to his background, without taking the focus away from the subject.
Subject
After taking the steps above, you’ll probably find you already look much better on video than you did before! Your last step is simply to make sure you look appropriately presentable, which of course varies depending on whether you’re streaming on Twitch, presenting live to colleagues, or recording a video for social media.
After you’ve beefed up your lighting setup, you might find it causes unwanted shine on your face. In that case, cosmetic blotting paper comes in very handy to tone this down.
Step 4. Improve your sound with an external microphone
Now that your video picture is improved, make sure your audio sounds good to match. Your phone’s built-in microphone is solid, and will often sound better than the built-in mic on your laptop or webcam. If you don’t already have a standalone microphone, now’s the time to upgrade. We love the Blue Yeti X for its ease of use and versatility, but no matter which you choose, an external microphone will make your videos sound noticeably better.
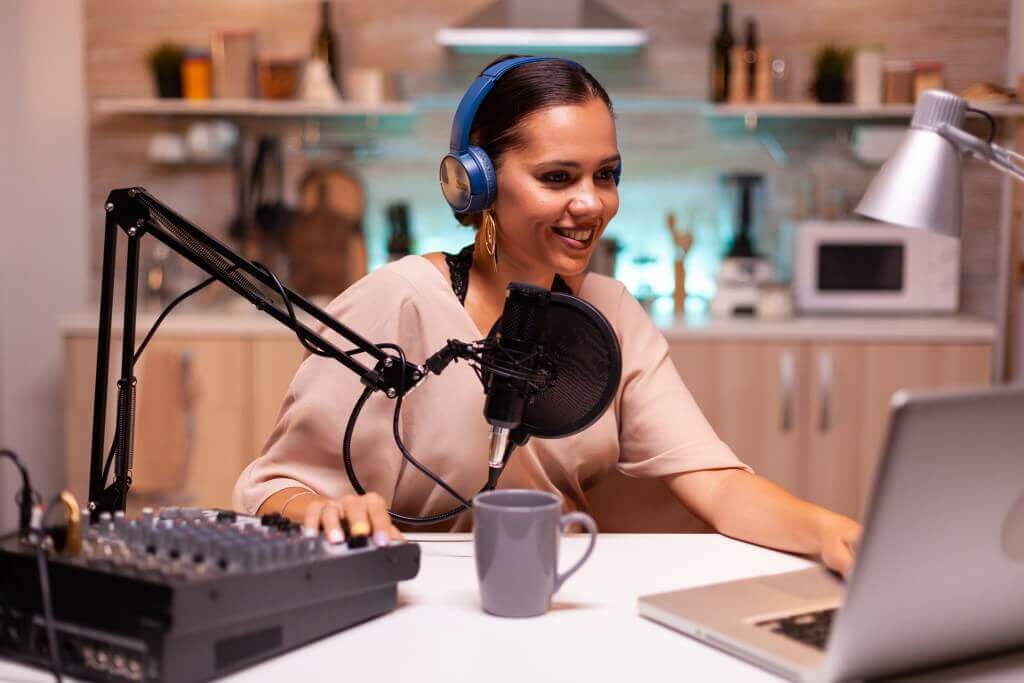
Accessories will help you make the most of your mic. If you have the space, a boom arm comes in very handy, particularly if you’re recording video at a desk — it’ll allow you to position your microphone out of your shot, but still record high-quality sound. If a boom arm isn’t feasible for your setup, a simple microphone stand should do the trick.
Want to learn more about recording better video with Descript?
If you’d like to learn more about producing better media projects with Descript, take a look at our blog, our Help Center, and follow our YouTube channel.