You finally capture that perfect video shot, only to discover someone's photobombing grandma, an unexpected power line, or that suspicious figure who's definitely not supposed to be there lurking in the background.
Reshooting isn't always an option (especially if that suspicious figure was, in fact, your kidnapper). The solution? Video cropping – the digital equivalent of using your hands to block out the embarrassing parts of a family photo, but actually effective.
What is video cropping?
Video cropping is a common editing technique used to remove unwanted content, resize videos to focus on specific elements, or optimize videos for different social media formats. It's a free, online solution that can transform your content within seconds.
How cropping differs from trimming, scaling, and zooming
Unlike trimming, which removes footage and shortens the length of the video, cropping changes its aspect ratio and framing without altering the duration. This technique is particularly useful for social media platforms that require specific aspect ratios.
Unlike scaling a video up or down, which changes the resolution, file size, and even quality of the entire video, cropping maintains everything about the video itself while adjusting just the framing around your subject.
And unlike zooming, which magnifies specific content in moments where you want to draw attention, cropping does so by eliminating everything outside the crop from the original frame.
You can do all of the above in Descript, but let's crop those out for now and focus on how you can crop videos on any device with these step-by-step tutorials:
Free and online cropping tools
If you want to crop a video quickly without installing heavy software, free browser-based tools are a great option. Media.io and 123Apps let you drag and drop your clip, pick a custom aspect ratio, and finalize your cropped footage in seconds according to experts. Clipchamp, which is included in Windows 11, also offers a free tier for multi-track editing and HD exports based on user reviews. For mobile-only editing, try specialized apps like Crop, Cut, & Trim Video Editor on Android or Video Crop on iOS to see how they stack up. Always crop after final edits to avoid any potential quality loss per industry recommendations.
How to crop a video on iPhone
The Photos app on an iPhone includes the ability to edit, adjust light and color, rotate, add a filter, and crop videos quickly and easily. Use the steps below to crop a video with the Photos app, which works with all common video formats.
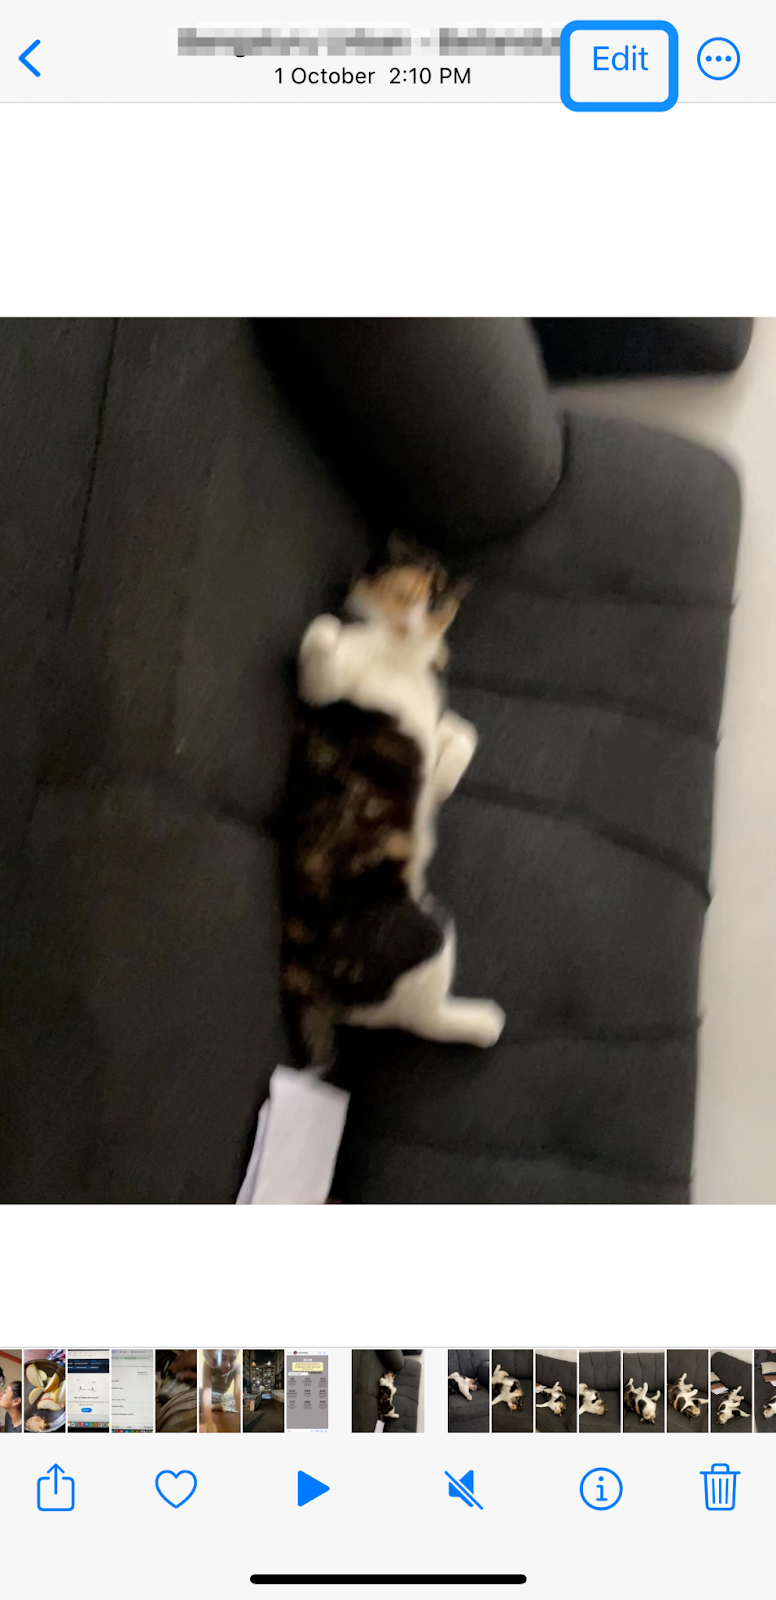
Step 1: Open your video in the Photos app
Tap your Photos app to launch it. Select the video thumbnail to view it in full screen.
Step 2: Select the Crop option
Then Tap Edit and select the crop tool.
 |
Then, tap the Crop icon.
 |
As you crop the video, tap the Undo or Redo icons at the top of the screen to undo and redo multiple edit steps.
TIP: Tap the video to compare the edited version to the original. After you edit a video and save your changes, revert to the original video by opening the edited video and tapping More > Revert to Original.
Step 3: Adjust the frame to crop your video
Make further adjustments using any of the following options:
- Crop manually. Drag the handles on the corners of the video to enclose the area you want to keep in the video and shade out the unwanted areas.
- Crop to a preset ratio. Tap the aspect ratio icon, then select your preferred option.
- Rotate. Tap the rotate icon to rotate the video.
- Flip. Tap the flip icon to flip the video vertically or horizontally.
 |
Step 4: Save your cropped video
After cropping your video, tap Done to save the changes.
 |
If you're not happy with the result, tap Cancel then tap Discard changes.
The Photos app's simple video editor is good for basic editing. If you need a dedicated video cropper tool for iOS with advanced features, try Video Crop or Video Cropper. Use them to crop videos, change aspect ratios, and add filters, background effects, music, or borders to make your content shine.
Social media aspect ratio tips
Cropping your video to the correct aspect ratio can prevent awkward borders or vertical letterboxing on social media. Instagram Reels, YouTube Shorts, and TikTok generally stick to the 9:16 vertical format, ensuring more immersive viewing according to recent guidelines. Tools like 123Apps and InShot Video Editor include presets for these vertical videos, so you can seamlessly match platform specs with minimal effort. If you’re publishing to Facebook’s feed, consider cropping to either 1:1 or 4:5 using Media.io’s square crop feature to maintain visibility. Keeping these platform-specific dimensions in mind will help your cropped videos reach the widest possible audience.
How to crop a video on Android
You can crop a video online on an Android device in a few simple steps using the built-in media player or Google Photos. This free process takes just seconds to complete.
Note: The directions below apply to a Samsung Galaxy smartphone. The settings and other options may look different depending on your Android device, but the process is the same.
Step 1: Open your video in Google Photos
Find the Google Photos app and tap to launch it. If you don't have the Google Photos app on your device, install it from the Google Play Store.
Locate the video you want to crop and tap to open it.
 |
Step 2: Choose the crop tool
Tap Edit to open the video in the Google Photos editor.
 |
Then, tap the Crop button.
 |
Step 3: Adjust the frame to crop your video
Drag the edges of the video to enclose the area you need and shade out unwanted areas.
 |
Tap the video aspect ratio tool to crop the video to a different aspect ratio, like a square.
 |
To change the video's perspective, tap Auto or tap the Transform tool, then drag the dots to the edges of your video.
 |
You can also rotate your video clip using the Rotation tool. Then, use the dial above the Rotation tool to make minor adjustments or tap Auto to straighten the video automatically.
 |
TIP: If you have a Google Pixel phone or Google One membership, you can access video effects like Dust mix, Light leak, B&W Film, or Chromatic to add to your video.
You can also draw on or highlight your video using the Markup tool. Tap Edit > Markup, then use the Pen, Highlighter, or Text tools to draw, add highlights, or insert text in your video.
 |
When you're finished, tap Done.
 |
Step 4: Save your cropped video
Tap Save copy at the bottom right to save the edited clip.
 |
How to crop a video on Mac
It's fairly easy to crop a video on your Mac computer using iMovie. With this free video cropper tool, you can quickly adjust the framing of your content. The instructions below apply to a Mac computer running macOS Ventura or later.
Step 1: Open your video in iMovie
Select Launchpad and click iMovie to open the app. Once in the app, click Create New. Then, select Movie.
 |
TIP: If you want to create a Hollywood-style movie trailer, select the Trailer option, pick one of its customizable templates, and build a visually appealing story.
Next, click Import Media.
 |
Select the folder containing your video file, then double-click the file to open it in iMovie.
Step 2: Pick the crop tool
Click the video to enable the editing tools, then select the Crop tool on the right side of the screen. By default, iMovie constrains the video frame to a 16:9 aspect ratio.
 |
Step 3: Adjust the frame to crop your video
Drag and resize the frame until you're satisfied with the result.
 |
Then, enhance your video using any of the following tools:
- Color balance: to adjust the overall mixture of colors in a video.
- Color correction: to adjust white balance, contrast, or saturation, and fix exposure.
- Volume controls: to adjust the volume of a video clip.
- Noise reduction and equalizer: to enhance or fix audio in a video.
- Filter and audio effects to add filters and audio effects to enhance the sound in a video.
- Speed button: to change clip speed.
Select any of the tabs on the left side of the screen to add a title, music, background, or transitions to your video clip.
 |
Step 4: Save your cropped video
Click Apply (blue checkmark) at the top right corner to apply the crop. The cropped area fills the viewer.
 |
Click File > Share to share your cropped video via email, YouTube, or Facebook. A pop-up will appear asking you to save the file and reconfirm the name. Click Next to save the clip to your preferred location.
 |
How to crop a video on Windows
Clipchamp is the built-in video editor for Windows 11. If you're on a Windows 10 computer, install Clipchamp as an application through the Microsoft Store, then use it to crop your video online for free. Or, use the web version to access the tool Microsoft Edge or Google Chrome.
Step 1: Open your video in Clipchamp
Launch Clipchamp on your Windows computer. Then, select Create a new video to access the Clipchamp editor.
 |
Click Import media to add your video file from your computer, phone, or cloud storage like OneDrive, Google Drive, and Dropbox. Or, drag and drop it onto the Clipchamp editing timeline.
 |
Your video will appear in the Your media tab on the toolbar. Hover your cursor over the video thumbnail and click the green Add to timeline (+) icon.
 |
Your timeline should look like this.
 |
Step 2: Select the crop tool
Click the Crop tool in the floating toolbar and select the area of your video you want to crop.
 |
Step 3: Adjust the frame to crop your video
Adjust the corners of the video to change the aspect ratio with your cursor. Or, click on the aspect ratio options on the right side of your screen under the Export button.
 |
Enhance your video using the options on the right property panel to add fades, filters, and captions, or adjust the color, volume, and speed. The toolbar also offers other features, which you can use to add creative flair, such as:
- Music & SFX: To add stock music to your video.
- Text: To add a title to your video using various fonts.
- Graphics: To add stickers, backgrounds, frames, overlays, shapes, annotations, and GIFs.
- Transitions: To add transitions like fading to black, zoom, swipe, jump cuts, and more to transform your video.
Step 4: Save your cropped video
Clipchamp automatically saves your edits, so you don't need to hit save each time you adjust your clip or before exiting the editor.
Click the Export button at the top right corner of the Clipchamp editor. Then, select the video resolution to save the file. Clipchamp lets you crop and download videos in up to 1080p quality for free. To download in 4K, you'll need to upgrade to a paid plan.
 |
If you're happy with the cropped video, pick one of the sharing options to post your video to YouTube, LinkedIn, or TikTok. Or, save it to OneDrive, Dropbox, or Google Drive.
Note: Clipchamp doesn't upload your videos anywhere. Instead, it will process your video in Microsoft Edge or Chrome locally on your computer. So, it's important to keep your source video file, or upgrade your plan to enable the content backup feature. Or, you could just use Descript for Windows or the web.
How to crop a video with Descript
Descript is an all-in-one audio and video editing software. You can use it to create, edit, and crop videos quickly and easily online, and do a whole lot more while maintaining high quality output.
Cropping a video with Descript's video cropper tool takes seconds, and you can start using your cropped clips right away in your editing projects or export them in the format of your choice. It works with all common video formats including MP4, MOV, and more.
Step 1: Upload your video to Descript
Create a new video project in Descript and upload your video file. Just drag it into your project to add your video as a layer to start cropping it.
 |
Step 2: Change the aspect ratio and dimensions
The easiest way to crop your video is by right-clicking it and selecting the Crop option.
 |
Then select Aspect ratio setting and choose one of three preset options: Square (1:1) for Instagram feed posts, Landscape (16:9) for YouTube, or Portrait (9:16) ideal for TikTok and Instagram Stories.
 |
The other option is to manually adjust the crop frame. Then press the Save icon (the checkmark) once you've found the perfect framing. You can also enter custom dimensions under advanced options.
Step 3: Edit and publish your cropped video
Trim, edit, add text, captions, backgrounds, animations, AI voices, or other visual and audio effects to your newly cropped video. Then click Publish to export your video, or publish it directly to platforms like YouTube or Wistia.
 |
Descript's intuitive, user-friendly interface comes with even more helpful features, including free online video cropping that helps you create content quickly and easily:
- Templates for creating social media clips from your video.
- Studio Sound to edit and turn your video's audio into pro-grade sound.
- An AI-powered transcription feature that lets you edit video based on text.
- Overdub, which creates an AI clone of your voice so you can fix any audio mistakes.
Descript supports video files in MP4, MPEG, MOV, and Apple ProRes formats, ensuring compatibility with all common video types. You can use Descript's desktop app on a Windows or Mac computer, or in your browser to crop videos online without losing quality.
Join millions of creators already using Descript to save time and bring their ideas to life.
How to crop a video FAQs
How do I crop a specific part of a video?
To crop a specific part of your video, use Descript's web version or desktop app, then do the following:
- Create a new project
- Upload your video file
- Use the crop tool to crop a specific part of your video
- Change the aspect ratio and add various effects, like background music or filters.
- Save and export your video or share it on other platforms.
Can you crop something out of a video?
Yes. Dedicated video cropper tools, like Descript or Videoleap, can remove unwanted elements from your videos easily. These free online tools use advanced AI video object removal to crop or erase text, timestamps, logos, watermarks, and passersby or photobombers ruining your shot.
Can I crop a video in Windows Media Player?
No. You can't crop a video in Windows Media Player. But you can use Clipchamp, a video editing tool, which comes pre-installed on Windows 11. For Windows 10, download Clipchamp to crop videos or navigate to app.clipchamp.com to use Clipchamp in Microsoft Edge or Google Chrome.
Does cropping a video reduce quality?
Cropping by itself doesn't necessarily degrade quality unless you're drastically scaling down the resolution. Some free tools let you maintain original resolution by only adjusting the visible area according to experts. If you plan to share on social media, matching the recommended specs (1080x1920 for Reels) helps prevent forced compression per best practices. Additionally, upscaling beyond your source resolution won't yield true improvements in quality.
Which formats do online croppers support?
Most free browser-based cropping tools handle MP4, MOV, and WEBM, letting you upload from a phone or computer based on testing. If you encounter a format like MKV or AVI, conversion with Freemake Video Converter can ensure compatibility to avoid errors. Many web-based editors also adjust bitrates and frame rates automatically to simplify exports. However, you can usually override defaults to preserve specific quality settings.