Video files are huge by nature. Without compression, we couldn't send video by email, watch Netflix on mediocre Wi-Fi bandwidth, or hide our retirement savings in old VCRs.
Fortunately these days, we can record and resize video without losing quality. Video compression shrinks file sizes, making them easy to distribute on any platform. However, it requires familiarizing with file formats, resizing, and video bitrates.
To help make sure your video content is accessible to viewers, here’s a complete step-by-step guide on how to compress video using a variety of video editing techniques.
What is video compression?
Video compression is the process of reducing video file size while still retaining the necessary video data. You do this using codec software, which decides what information is required for the video to retain its quality and what information can be discarded. There are a few different video codecs—all responsible for compressing (and decompressing) the video in unique ways.
6 methods to compress video files
Now we know what video compression is, let’s cover five different tutorials you can use to compress videos.
1. Zip the video
Zipping a large video file is the easiest way to compress a video file. Here's how you can do it on both Mac and Windows:
Mac
- Find the video file in Finder that you want to compress.
- Right-click on the file.
- Select "Compress [filename]" from the context menu.
It'll create a ZIP file in the same place as the original.
Windows
- Find the video file in File Explorer.
- Right-click on the file.
- Hover over "Send to" and then select "Compressed (zipped) folder" from the submenu.
This creates a ZIP archive in the same directory as the video.
2. Convert the video format
Converting your video to another format may be able to shave some of that extra size down. For example, a popular video format for online use is MP4 (or MPEG-4) using the H.265 (HEVC) codec. This particular format is well-regarded because of its high compression, good video quality, and compatibility.
To convert a video to another format in a video editing program, simply:
Step 1: Find the video you wish to compress on your device.
Step 2: Load your video file into a video editing software. Popular choices include Handbrake, iMovie, and Descript.
Step 3: Choose a new format and codec. Opt for a more compressed format like MP4 with the H.265 (HEVC) codec, which is known for its high compression and good video quality.
Step 4: Export your video. During the export process, select your desired format and codec.
Step 5: Save the newly compressed video to your device and verify the reduction in file size.
Keep in mind that not every video may be suited to each format. Different codecs handle the compression process differently—you may find one format and codec struggles with your particular video while another retains more detail.
3. Trim the video
Is there extra time at the beginning or end of the video? Maybe there are sections in the middle that are unnecessary. Shortening the overall runtime of the video by trimming out these unneeded parts will help reduce your video file size.
You can do this with any video editing software. The workflow will be similar for most applications including iMovie, Adobe Premiere, or Descript’s video editor.
Here’s how to reduce the length of your video using most video editing software:
- Import the video file to a video editing tool like Descript.
- Use the slice, cut, or trim tool to shorten the beginning and end, or remove any parts of the video file you don’t need.
- Select Export, share, or render depending on the software you're using. (This would be a good time to incorporate the next few suggestions as you set the encoder options to further reduce file size.)
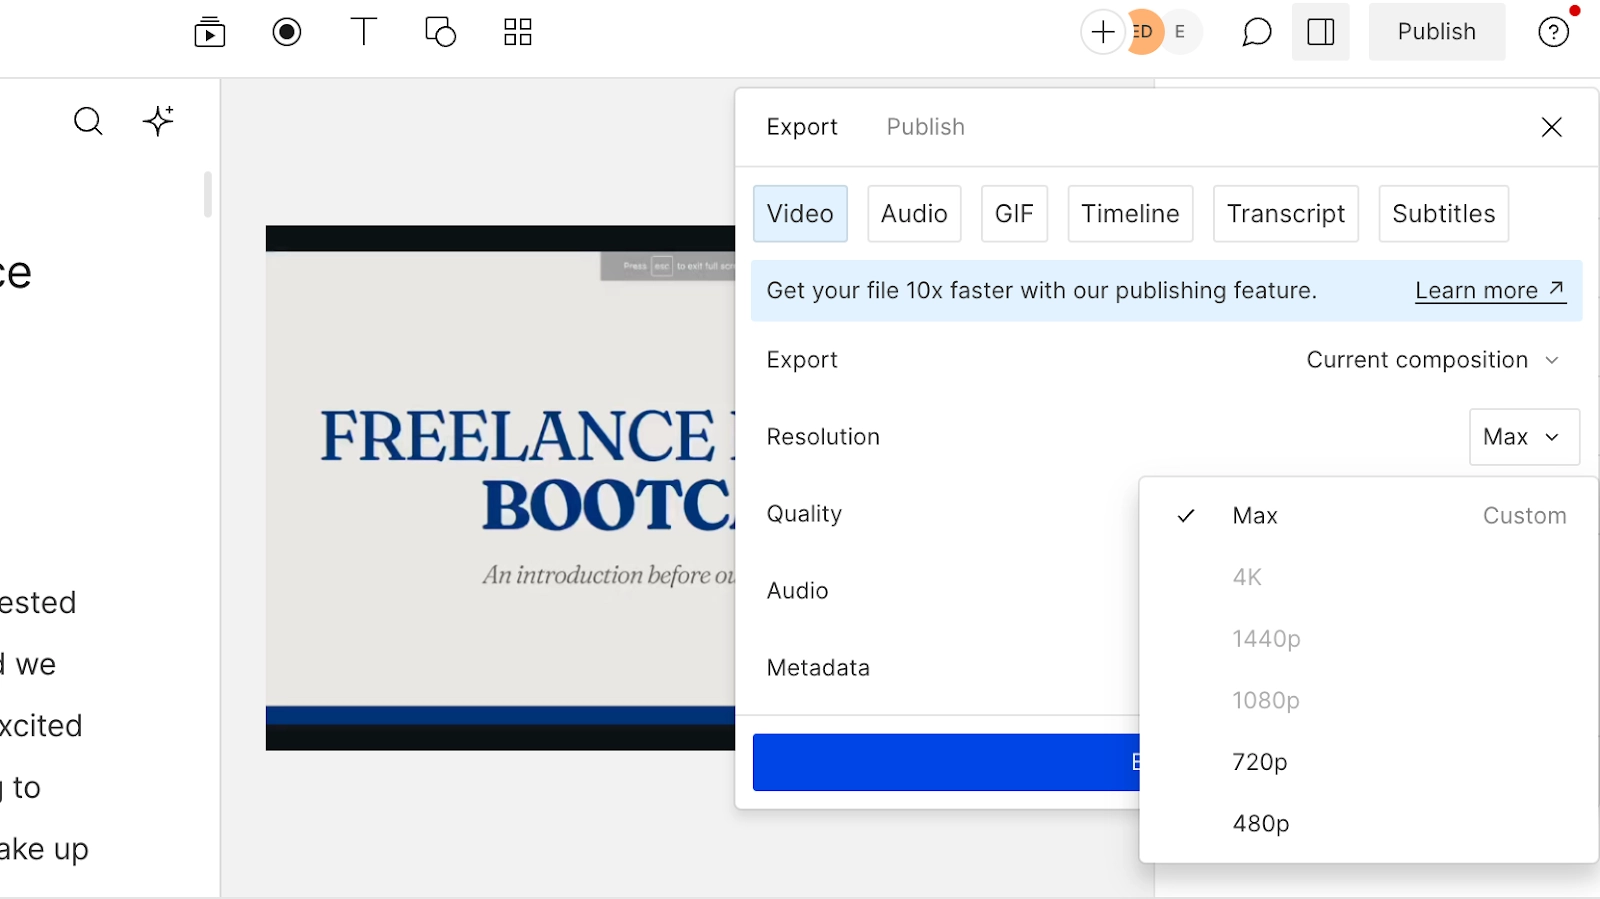
4. Reduce your video’s resolution
When choosing a technique to compress your video, think about where your video will be viewed. If you intend to upload the video to YouTube and the original file’s resolution is larger than 1080p, you could reduce file size greatly by lowering the resolution to 1920 pixels by 1080 pixels.
However, if you're uploading a video to social media or a platform where it will be primarily viewed on mobile devices, you can lower the resolution even further. While most mobile devices are able to display very high-resolution images and video, the screens are still pretty small—so the reduced quality of a low-resolution video will not be as noticeable.
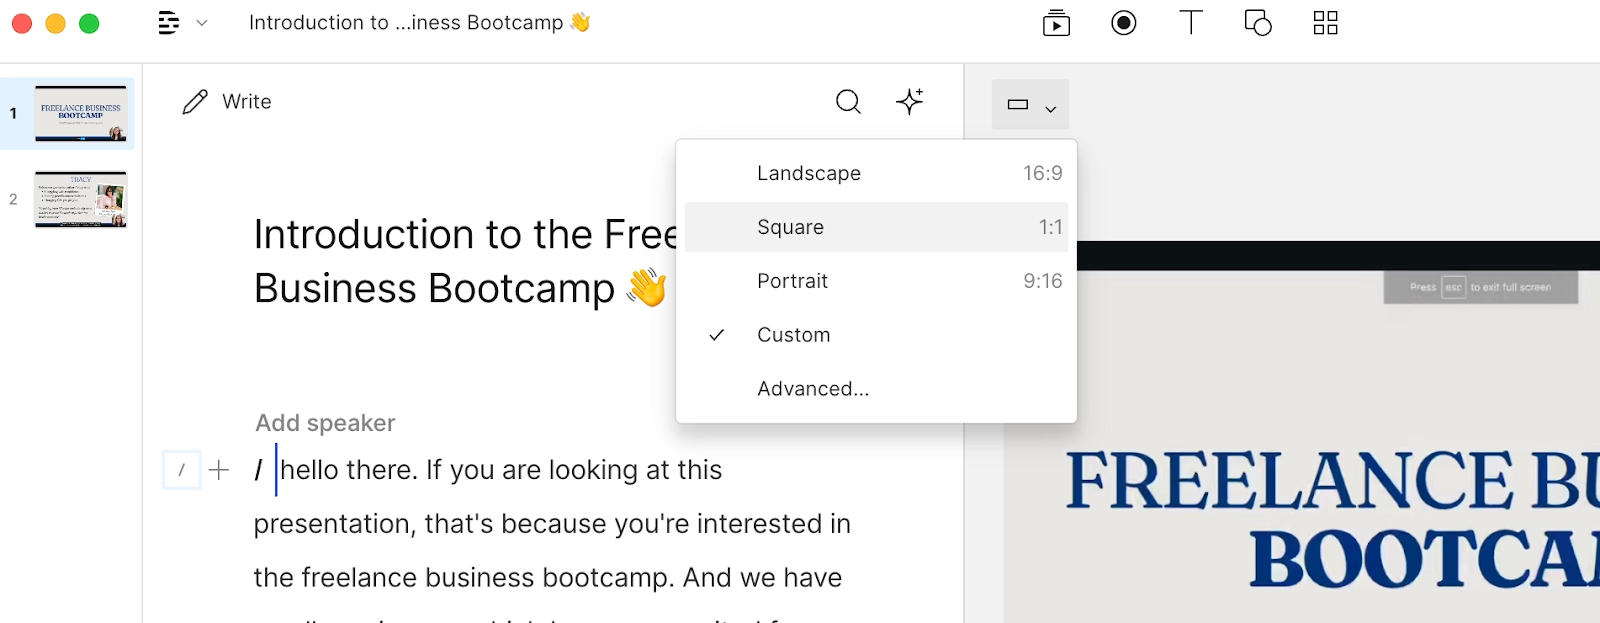
For social media, a resolution of 720p, which is 1280 pixels by 720 pixels, may be a good choice. Square videos work just as well. You can easily reduce the file size by cropping a 1920 x 1080 video file to a square 1080 pixels by 1080 pixels.
Here’s how to reduce the resolution of a video by cropping it:
- Determine the viewing platform: Understand where your video will be primarily viewed—on YouTube, social media, or mobile devices—to choose the appropriate resolution.
- Open your video editing software: Import your video file into a video editing program like Descript.
- Access resolution settings: Navigate to the video settings or export settings where you can choose a preset resolution.
- Adjust the resolution:
- For YouTube: If the original resolution exceeds 1080p, scale it down to 1920 pixels by 1080 pixels.
- For general social media: Lower the resolution to 720p (1280 pixels by 720 pixels) as it balances quality and file size well for mobile viewing.
- For Instagram posts: Crop the video to a square format of 1080 pixels by 1080 pixels if it fits the content.
- Export and save: Save the newly adjusted video and ensure the file size has been reduced as desired. It helps to use a descriptive file name for easy referencing later on.
5. Reduce the bitrate
Reducing the bitrate is an easy way to reduce file size without shortening your video or changing the size of the image. However, it may not be the most intuitive fix unless you know what the ideal bitrate for your particular video resolution is.
Social media platforms usually have restrictions on how large video uploads can be so 5 Mbps even for 1080p videos works well. You can play around with bitrate if the video is still too large—these numbers are just a jumping-off point.
Here’s how to reduce the bitrate of a video to compress it:
- Identify the ideal bitrate: Determine the suitable bitrate for your video based on its resolution and platform it will be uploaded to. For instance, 8 Mbps for 1080p and 5 Mbps for 720p videos are good starting points for online streaming (at standard frame rates).
- Open your video editing software: Import your video file into a video editing program like Descript.
- Navigate to the export, render, or share step in your software and locate the bitrate or video quality setting.
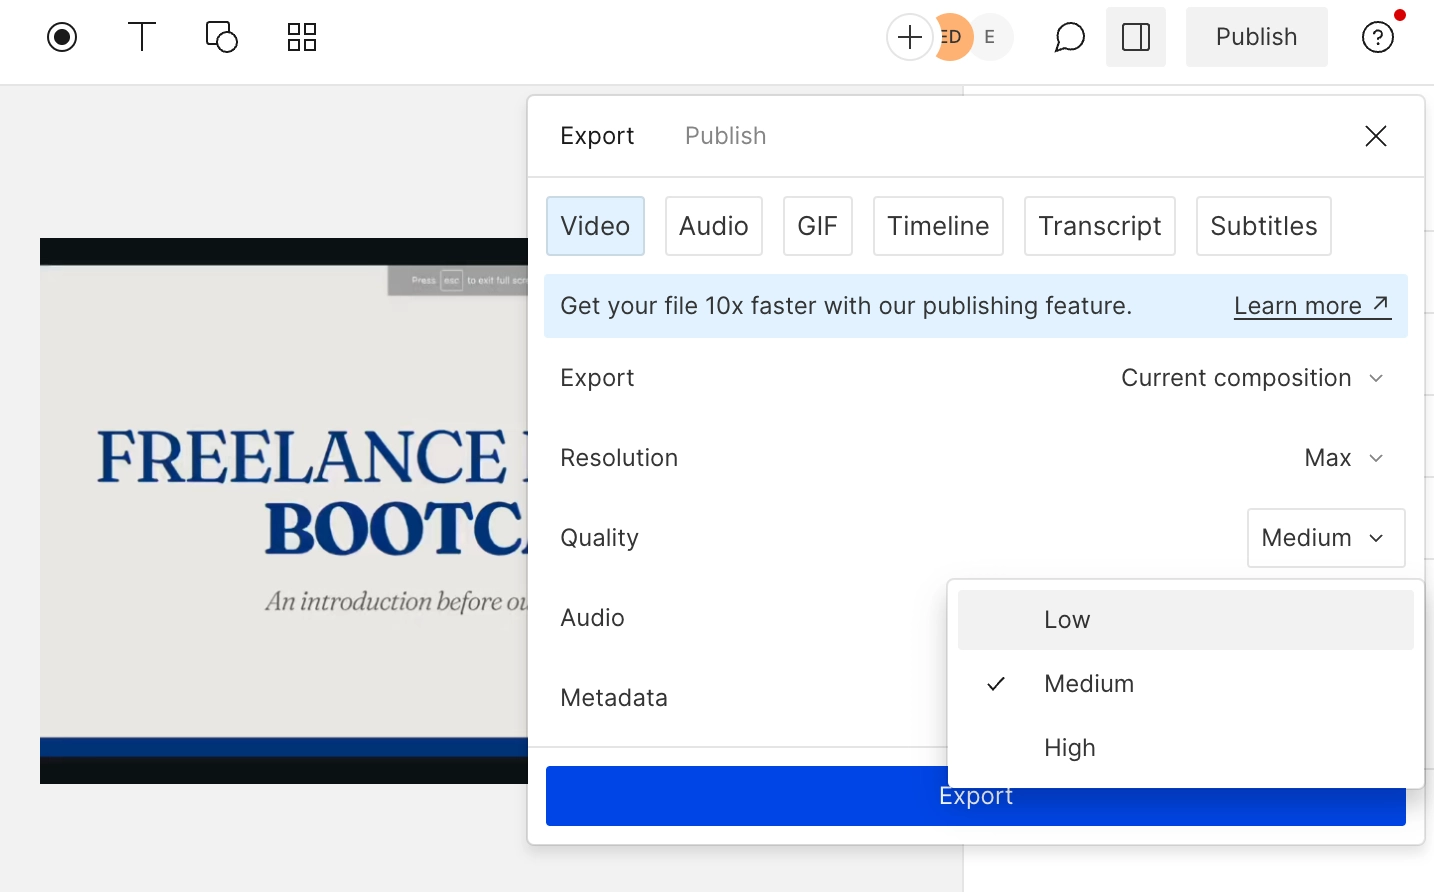
- Adjust the bitrate: In user-friendly interfaces like Descript, you can select a video quality level such as low, medium, or high. In more advanced settings, type in the desired bitrate value.
- Choose variable bitrate (VBR): If available, select the VBR option for a balance of video quality and file size.
- Select encoding pass: If given a choice, opt for 2-Pass Encoding to improve video quality, though be prepared for a longer encoding time.
- Export as an MP4 and save: Save the newly compressed video to your device and playback using your device’s media player to confirm the reduction in file size.
6. Compress your video online
There are also online video converter services that allow you to compress video without the need for video editing software. Some require you to sign up for an account or pay for a subscription to compress longer videos while others are free.
A few online video compressors worth considering are:
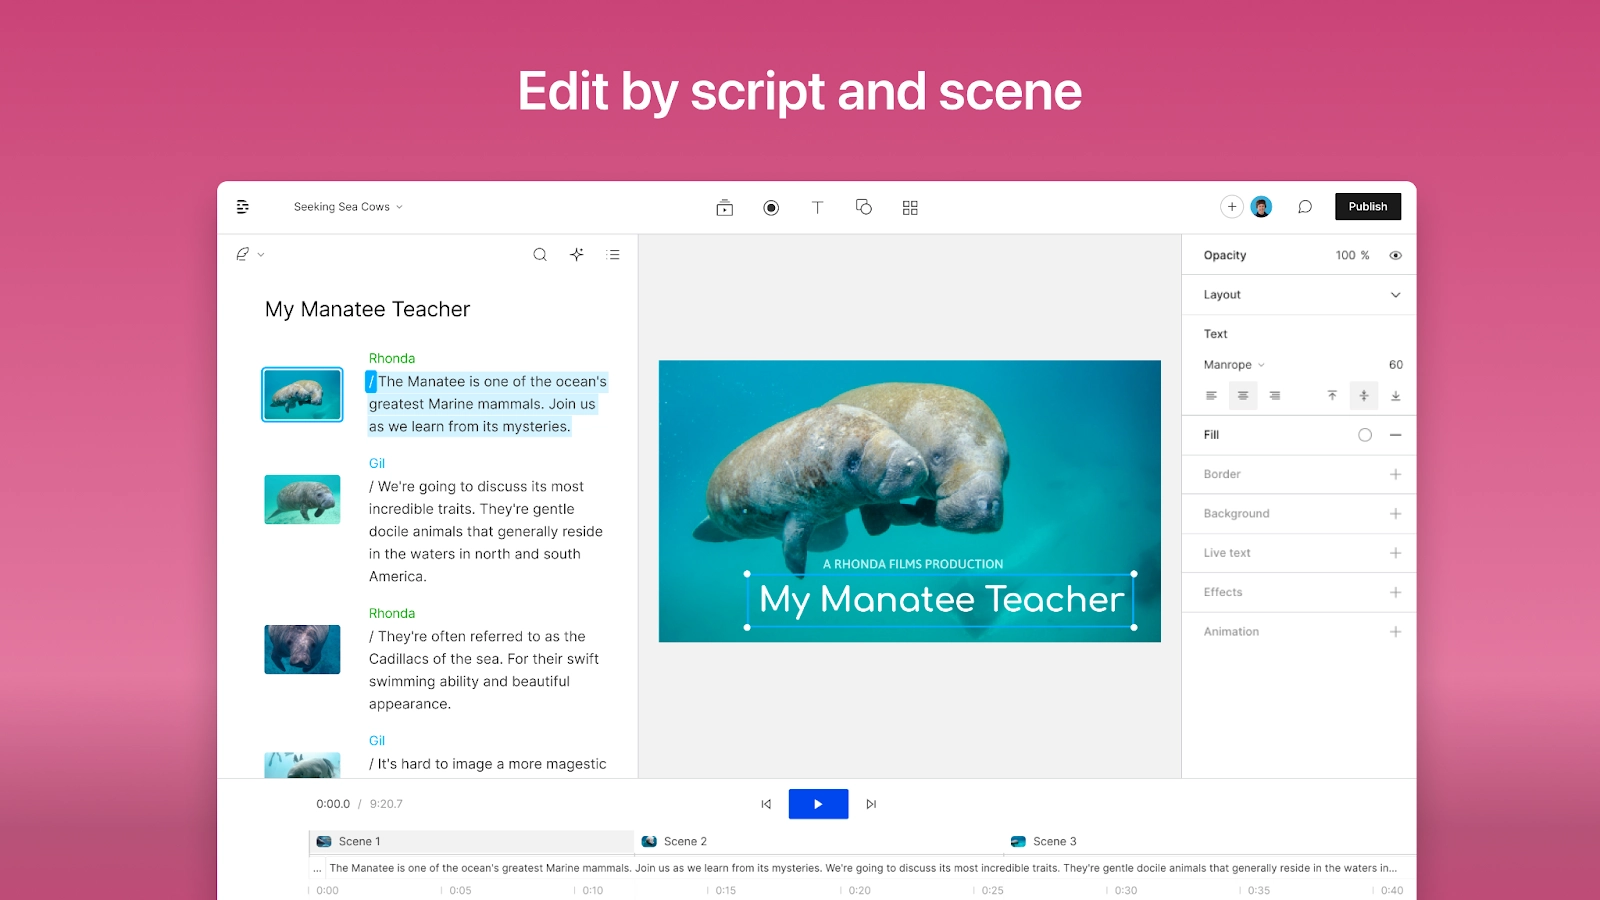
Descript is one of the best video compressors out there. It makes it easy to compress video quickly. Here’s how to resize and compress videos in just a few steps.
- Prepare your MP4 files: Ensure you have the MP4 videos you want to compress. If you have videos in other file types like M4V, MPEG, and MOV, don't worry—Descript can handle these too.
- Upload your videos to Descript: Launch the Descript web platform and upload your video files to the editing dashboard.
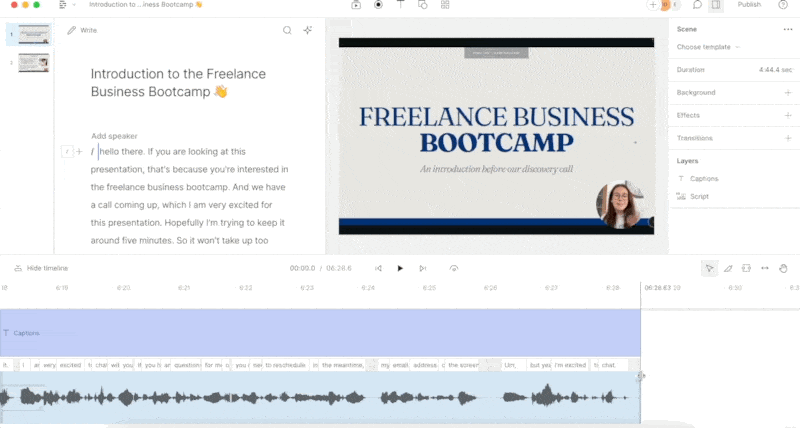
- Edit your video (optional): Before compressing, seize the opportunity to edit your video if necessary. Trim unwanted parts, create subtitles from the automatic transcription, and use AI to remove unwanted background noise.
- Compress your video: Click the Share button in Descript and select Export. You'll now have the opportunity to set your video’s resolution and dimensions, either creating a new file or publishing it directly to YouTube.
- Export and save: Once you’re satisfied with the settings, proceed to export your video. Save the compressed file to your device in a video file format such as MP4, MKV, or a ZIP file. Alternatively, you can share it directly to your preferred platform, such as Dropbox or YouTube.
How to compress a video on any device
The process for compressing a video can differ depending on the device you’re using. Below are steps tailored for Mac, Windows, and mobile devices like iPhone and Android—all of which help you reduce the video file size while maintaining decent video quality.
How to compress a video on Mac
Here’s how to use a Mac device to compress video:
- Locate your video file: Find the video file you wish to compress on your Apple computer.
- Open a video editor: iMovie and QuickTime Player are user-friendly options for basic video editing and compression tasks. For more advanced features, download the free Descript app for Mac.
- Import your video: Add your video file to the editor and access the export settings.
- Adjust compression settings: Customize the resolution, bitrate, and file format to reduce the video file size.
- Export and save: Save the compressed video file to your desired location or share it directly to social media or other platforms.
How to compress a video on Windows
- Locate your video file: Find the video file you want to compress on your Windows device.
- Open a video editor: Use your preferred video editor, like the Windows version of Descript, to start the compression process.
- Import your video: Load your video file into the editor and navigate to the export or compression settings.
- Adjust compression settings: Modify the resolution, bitrate, and encoding settings to achieve a smaller file size.
- Export and save: Save the compressed video to your device or share it directly to platforms like YouTube or social media.
How to compress a video on iPhone and Android
If you don’t have a desktop computer to compress video files, here’s how to do it from your smartphone.
- Locate your video file: Access the video file you wish to compress on your device.
- Download a video compressor app: Install a reputable video compressor app from the App Store or Google Play Store, such as Compress Videos & Resize Video.
- Open the app and import your video: Load your video file into the app and access the compression settings.
- Adjust compression settings: Customize the resolution, bitrate, and other settings to reduce the video file size.
- Save and share: Save the compressed video back to your device or share it directly to social media or other platforms.
Why do I need to compress a video?
Compressing a video reduces the file size, which makes it easier to share your video content. If you’re posting a YouTube video to your channel, for example, a compressed video will be much quicker to upload.
Smaller video files are also easier to send via email. If you’re sharing a screen recorded video with your team, for example, the video file must be less than 20 MB for Microsoft Outlook or 25 MB for Gmail. Compressing a video file before attaching it to your email means you can still send it as an attachment without having to upload it to a separate (and often more expensive) video hosting site.
What makes video files so big?
Three core elements primarily determine the size of a video file: the video resolution, the bitrate, and the encoding method.
Understanding these factors lets you compress large video files without compromising the visual appeal. This way, you can avoid quality loss, save storage space, and keep your footage from getting muddled.
Resolution
Resolution is the actual size, in pixels, of your video image. When people refer to a video in terms of “1920 by 1080” or “4K,” they’re referencing the video’s resolution. A 1080p high-definition video, for example, has an image size of 1,920 pixels wide and 1,080 pixels tall.
That video has over 2 million pixels per frame, with each pixel holding unique data identifying the color and brightness. Multiply that by the number of frames per second—commonly between 24 and 60 frames per second—and you can see why uncompressed video files are so large.
📹 Film your footage: How to record video on PC, phone, or webcam
Bitrate
Bitrate is the amount of data being transferred at a given time. It’s typically measured in bits per second (bps), kilobits per second (Kbps), or megabits per second (Mbps).
In general, higher bitrates can transfer more data per second, resulting in higher video quality, but also larger video files. At the other end of the spectrum, lower bitrates can transfer less data, resulting in smaller files.
You can encode a video using constant bitrate (CBR) or variable bitrate (VBR). CBR maintains a consistent rate for the duration of the video, whereas VBR will adjust the rate depending on the complexity of the video from moment to moment.
Encoding
Encoding is the process of compressing video files into a specific file type like AVI, MOV, WMV, or MPEG. Some video formats and codecs compress data more efficiently. Selecting an efficient video codec in your video editor, like H.264, often leads to high-quality videos with reduced file sizes.
There are two key elements of a video file during the encoding process:
- Container. People often refer to the container as the "file format." Common examples of a container would be MP4 and MOV file types.
- Video codec. The codec is held within the container and is responsible for applying the compression. Different codecs, including lossless codecs and lossy codecs, handle compression in different ways. Think of it as using different mathematical methods to solve the same problem.
Want to join the thousands of creators already using Descript’s video editing software? Take a tour of the dashboard today.
How to compress a video FAQ
Can we compress video size?
Anyone can reduce the size of a video by compressing it. This might mean trimming the video length, changing the video resolution, or adjusting the bitrate.
How do I reduce the file size of a video?
- Trim or cut your footage
- Change the video format
- Reduce the video resolution
- Reduce the bitrate
- Use a free video compressor
How can I reduce the size of a video for free?
Reduce the size of a video for free by trimming unwanted footage. You can also use free video editing and compression tools like Descript, or an open-source media player like VLC.
How do you compress a large video file?
- Upload a large video file to Descript’s free online video compressor
- Trim unwanted parts from your footage
- Edit the video using AI
- Adjust the bitrate
- Change the resolution
- Export and publish your compressed video